The quest for a medium format travel camera led me to pick up a Fujifilm ga645i and, after a year and a half of use, including during two trips to Japan, I’ve remained very happy with the choice. The following is a record of my impressions.
Features
The ga645i is essentially a medium format point-and-shoot. It features autofocus, auto-exposure, auto film winding and a built in pop-up flash. When in ‘P’ mode the only necessary button to press is the shutter release.
The camera shoots a 645 frame, achieving 16 frames per roll (earlier iterations of the ga645 only had 15). There is an option to imprint the date-time and camera settings on the edge of the negative, outside of the frame (I’m not sure why this isn’t permanently on as it’s incredibly useful with no down side I can think of). Film loading and winding is all automatic. For Fuji branded films, the camera will automatically set the iso (a feature added for the ‘i’ versions).
The lens is fixed at 60mm (approximately 37mm equivalent in 35mm film terms) and opens up to f4. The maximum shutter speed varies with aperture. Wide open the max is only 1/400 but this speeds up to 1/700 at f11.
Image Quality
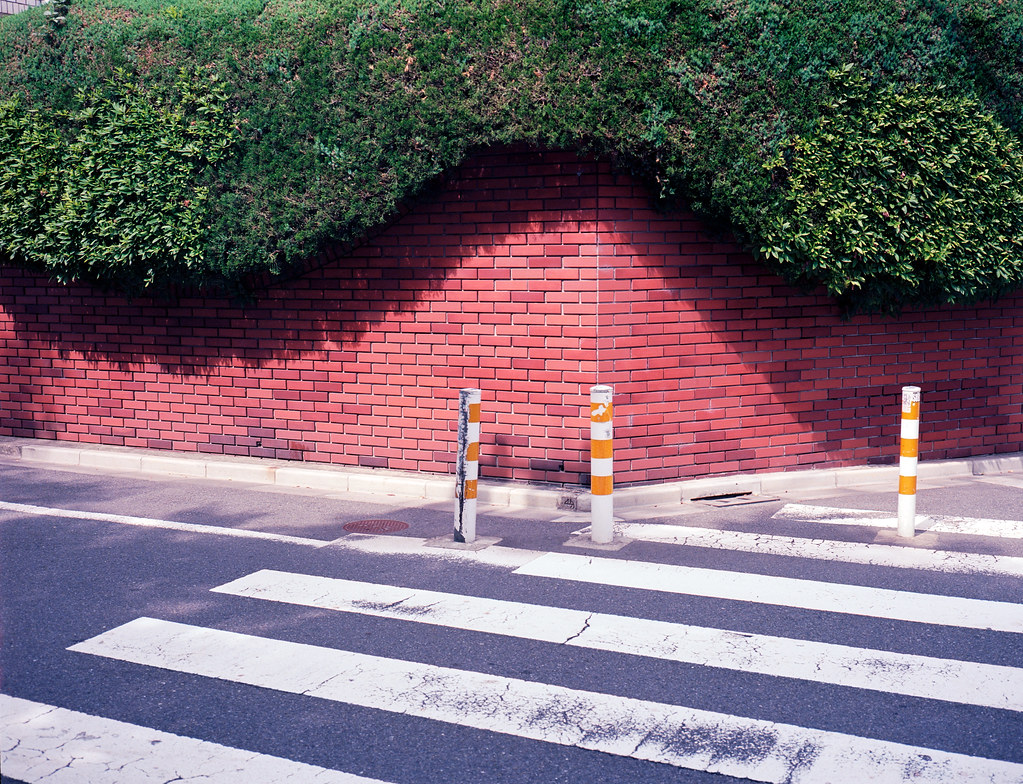
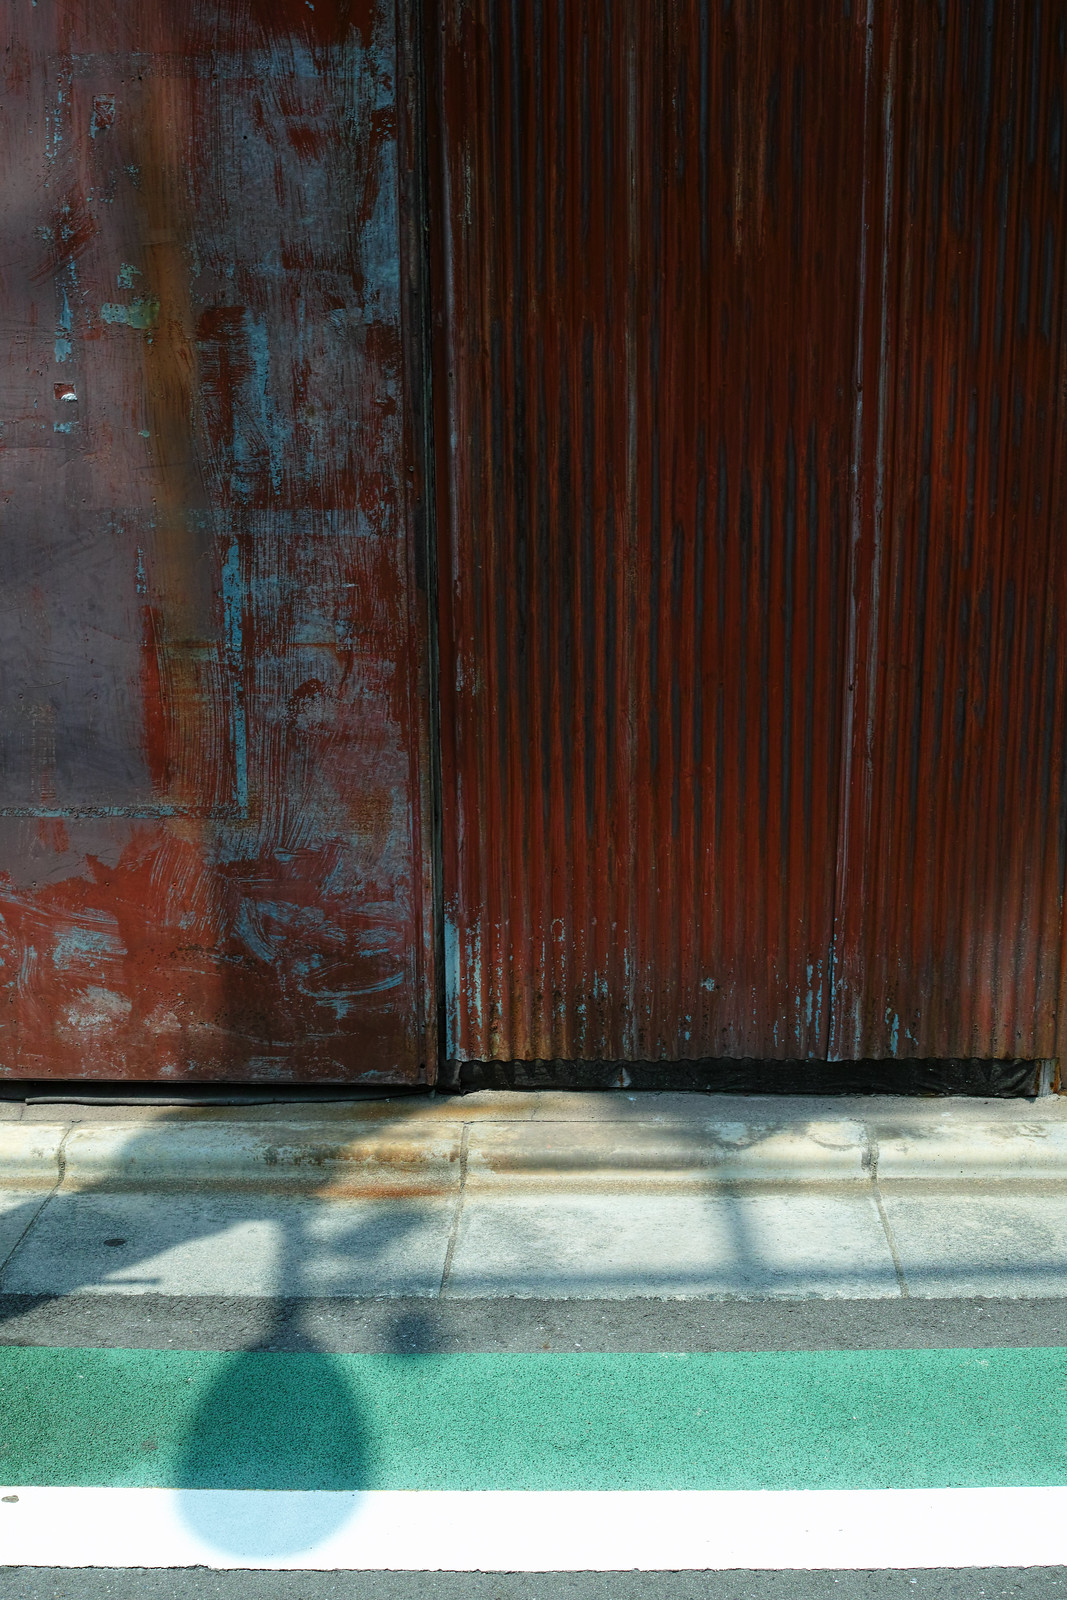
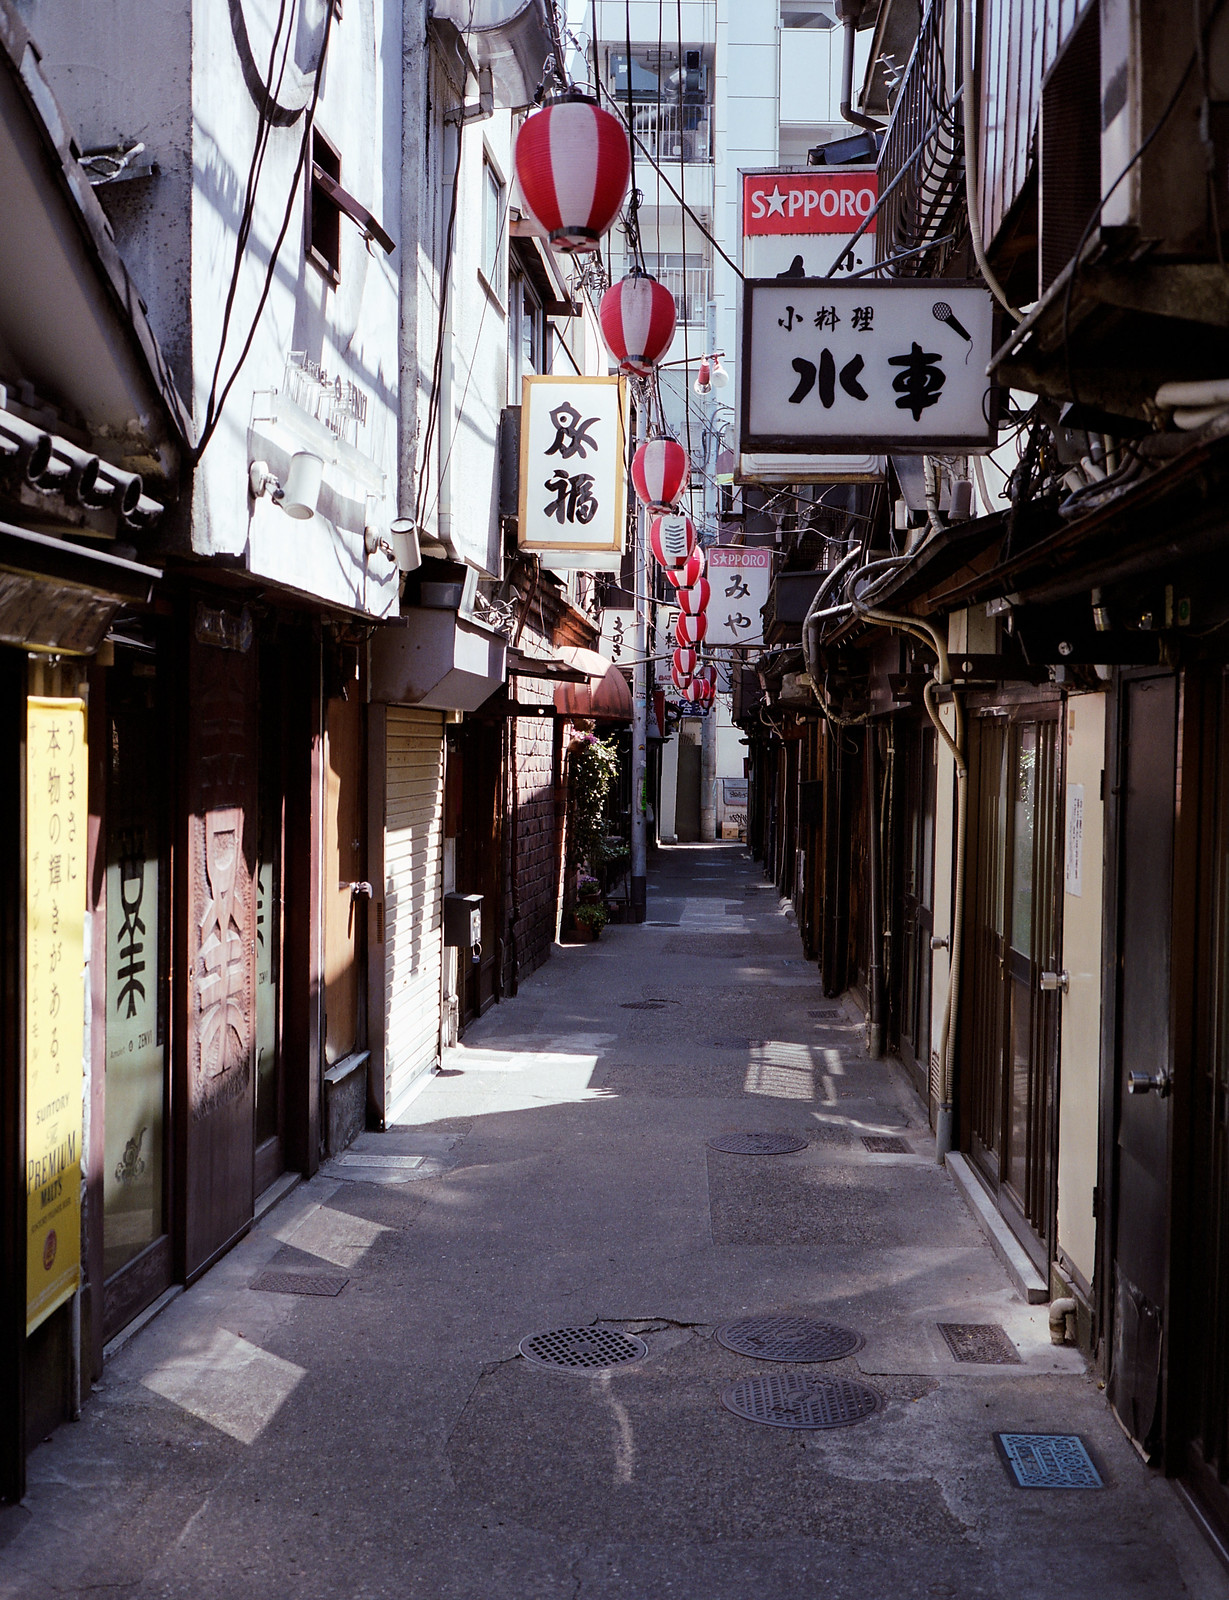
As this is a non-technical review, there isn’t much to say about the image quality. It’s fantastic. The photos are sharp and perhaps more contrasty than with most cameras. I don’t hesitate to shoot it wide open. I haven’t noticed any light falloff or flare under average shooting conditions. Colours tend to really pop.
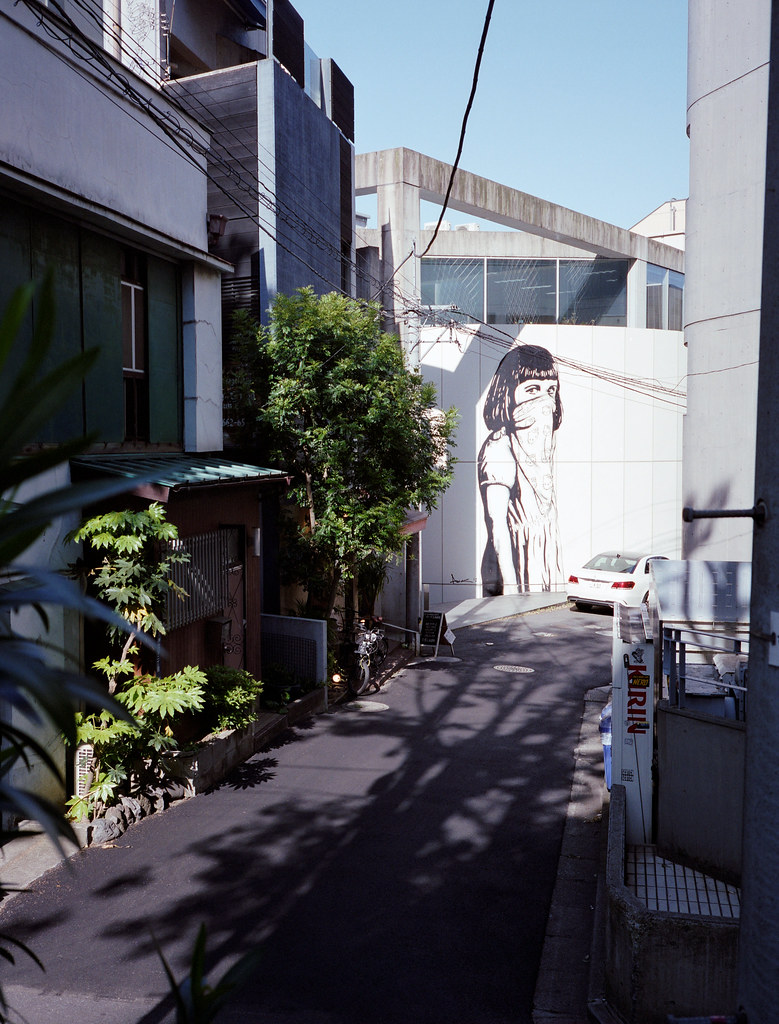
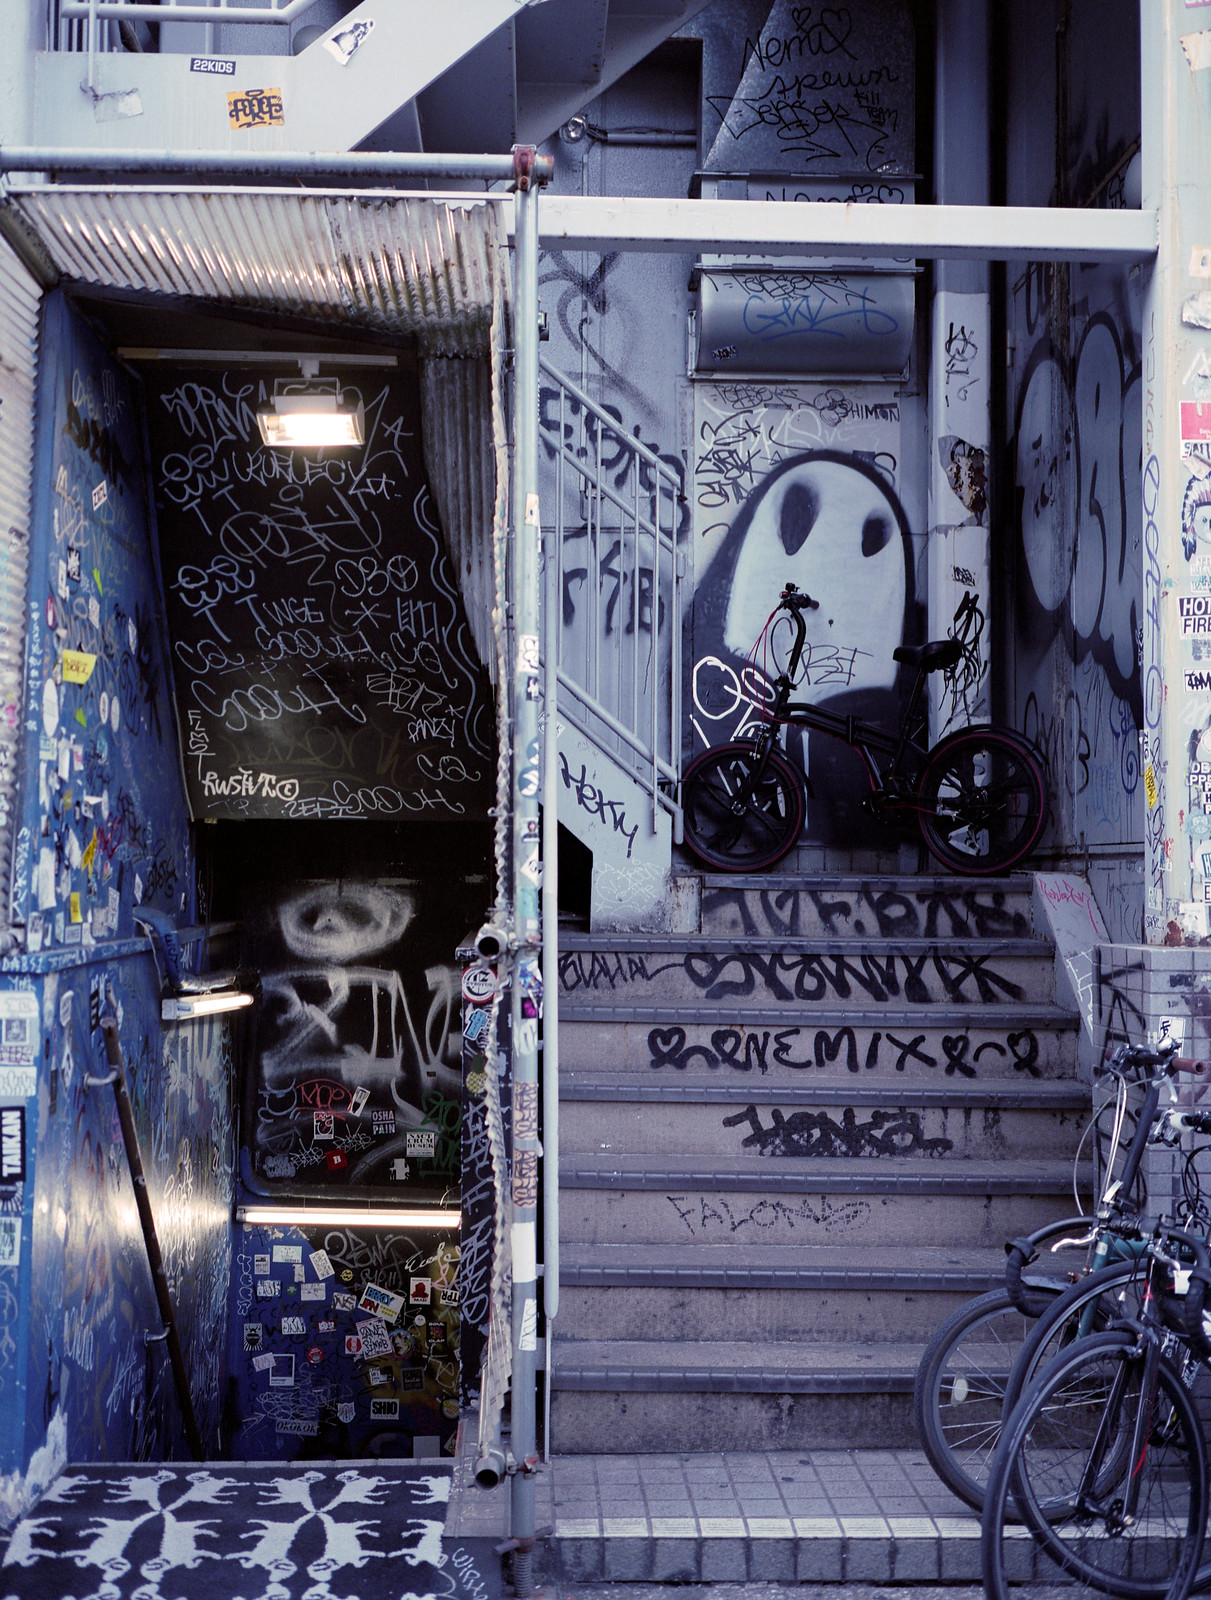
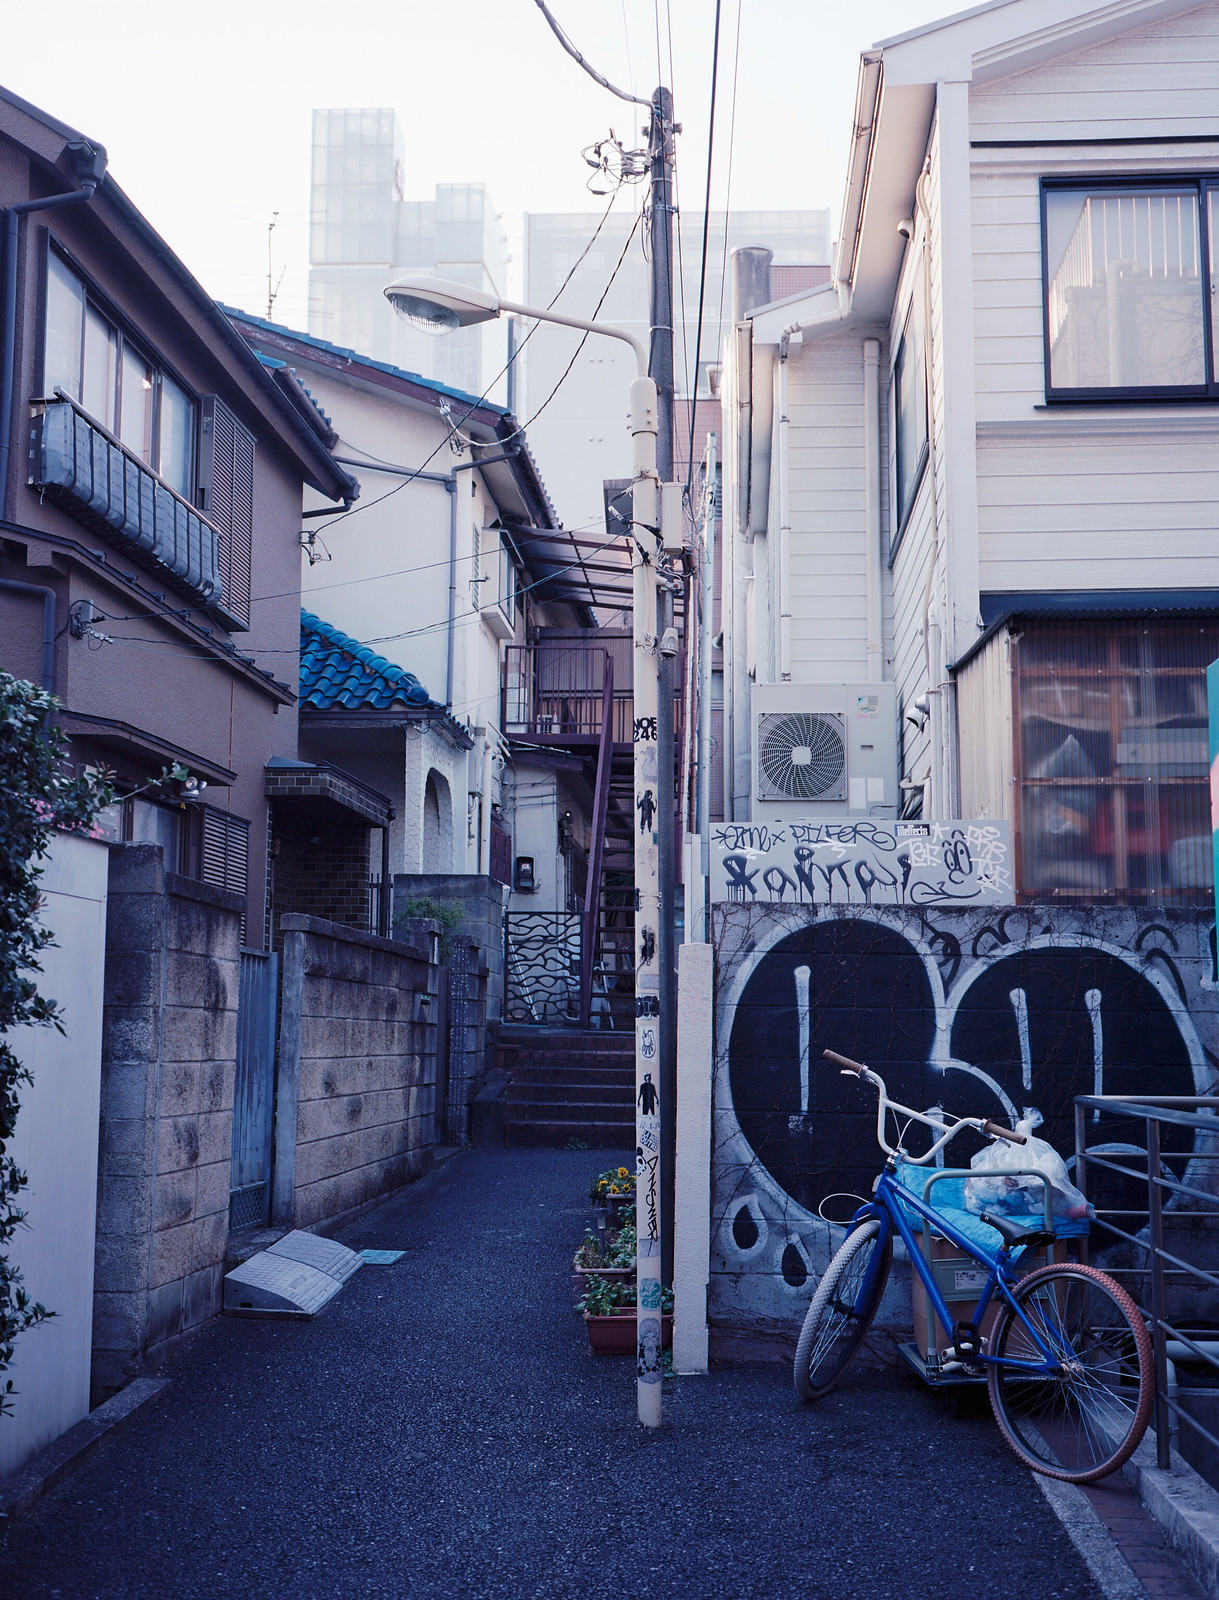
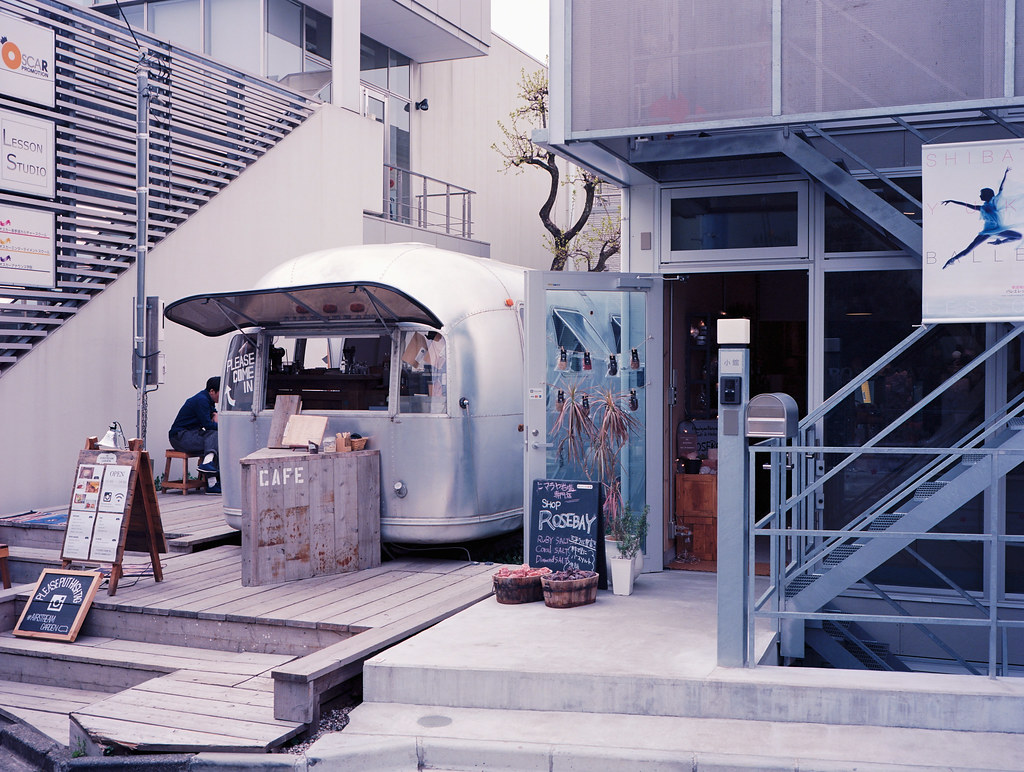
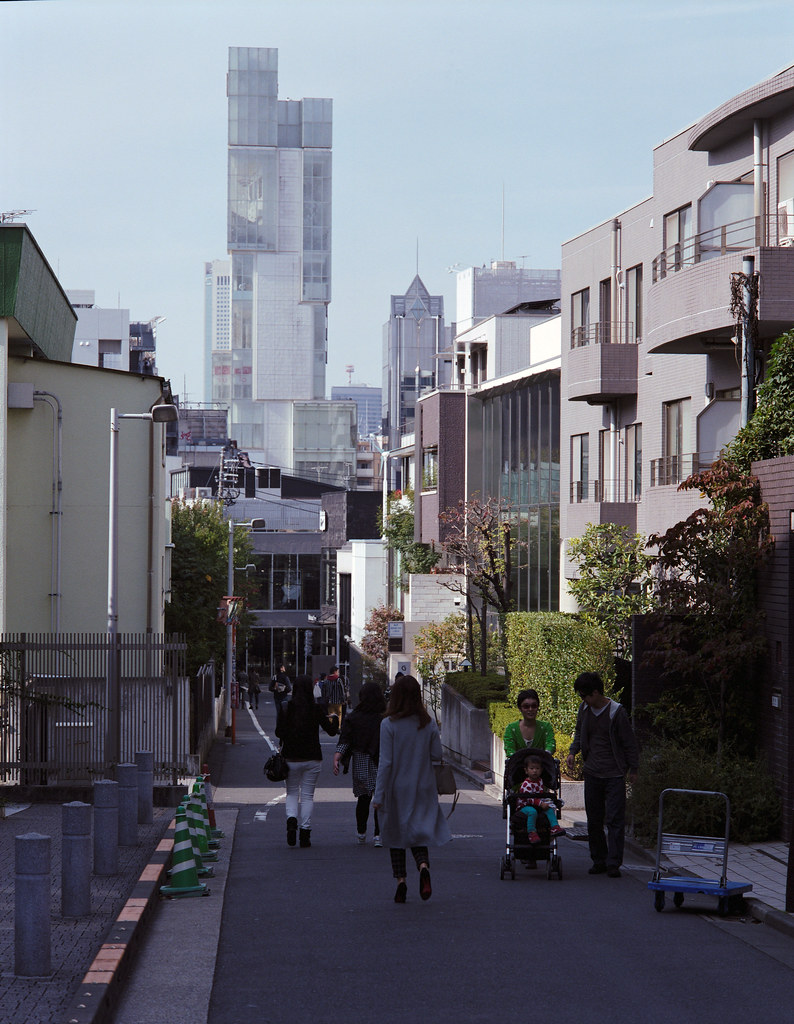
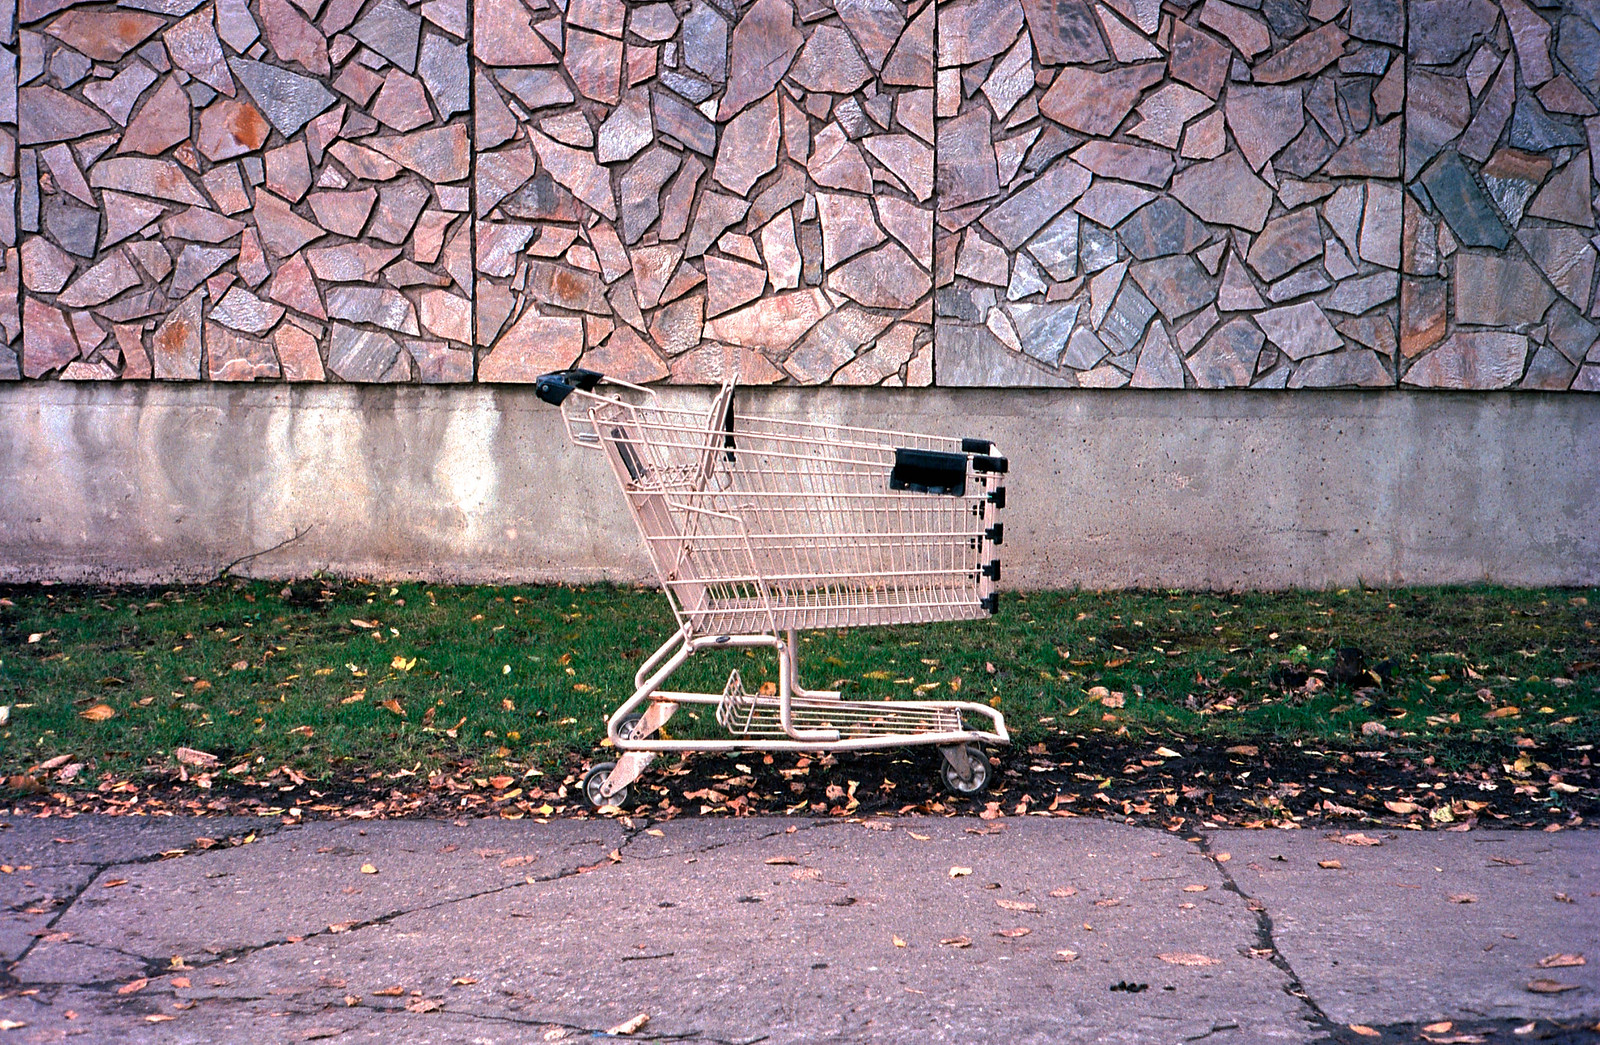
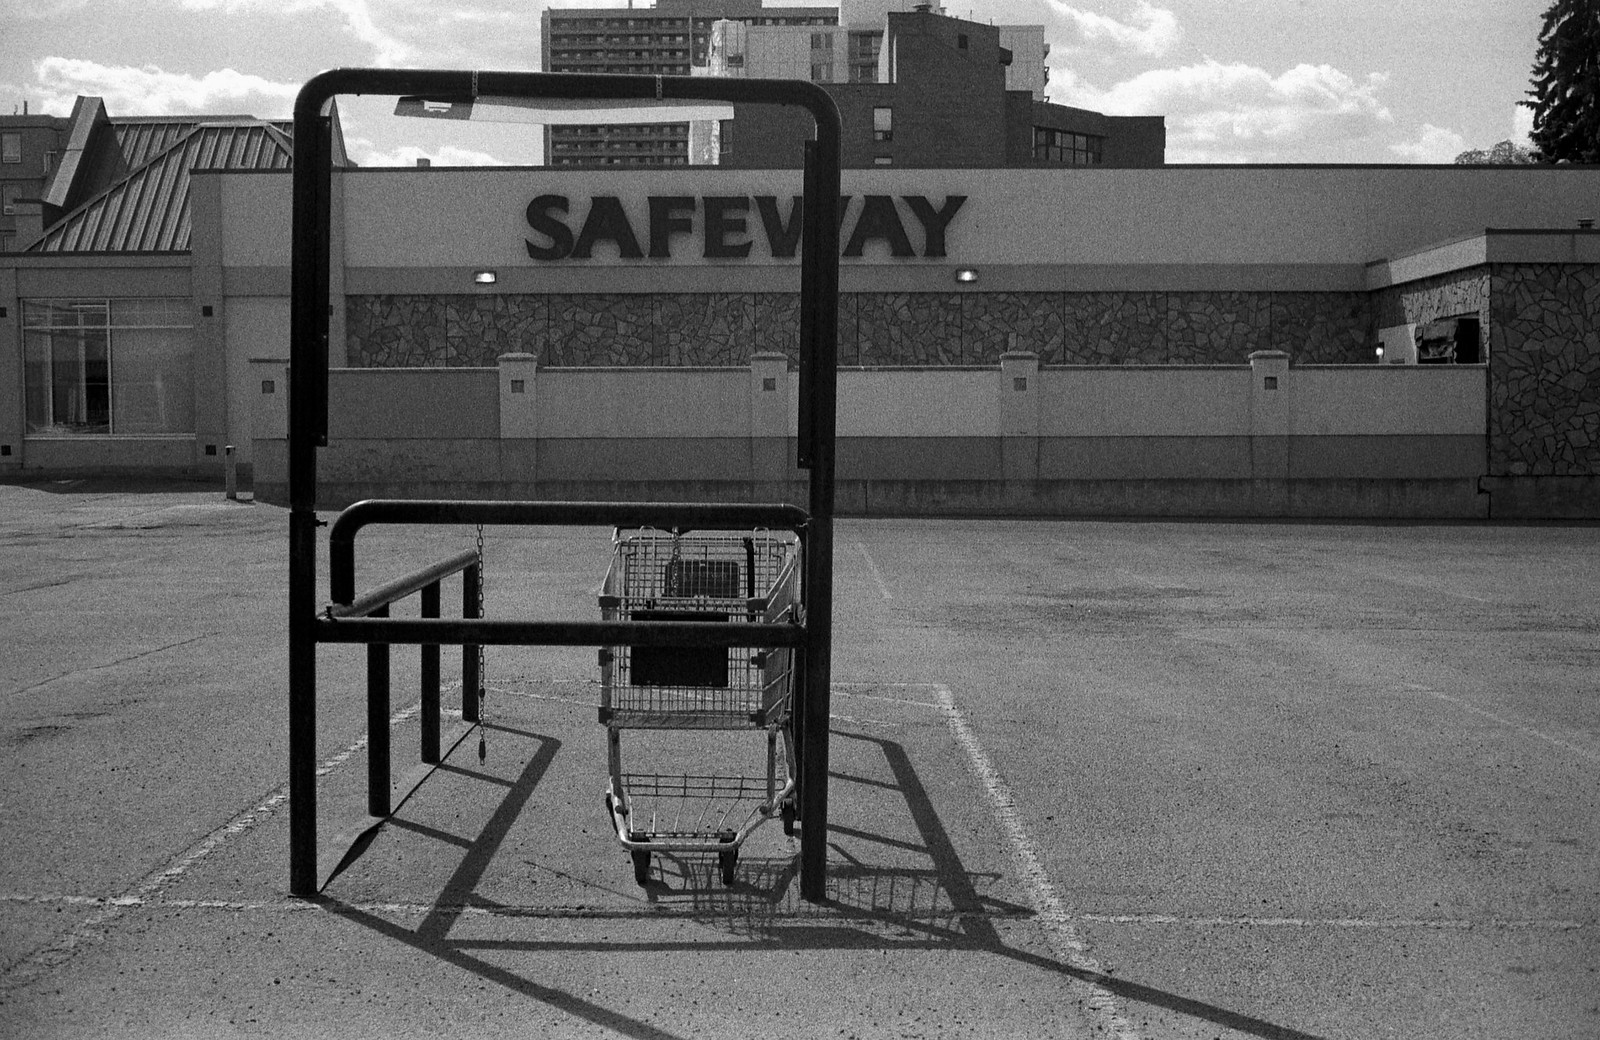
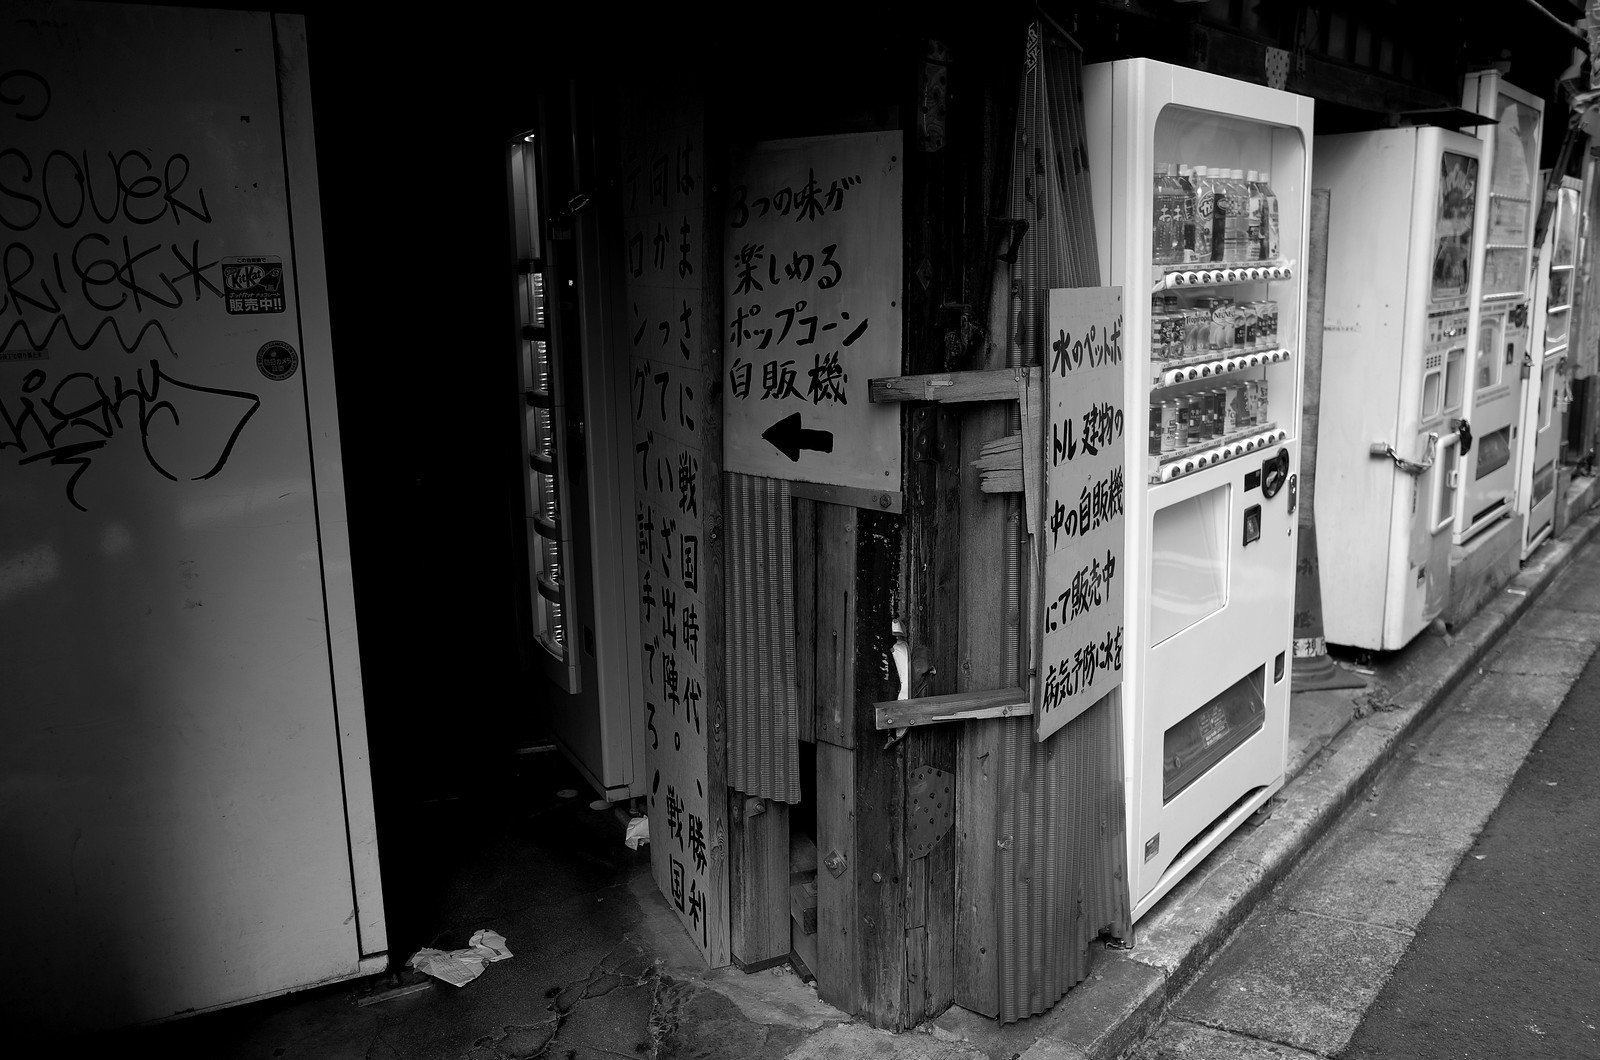
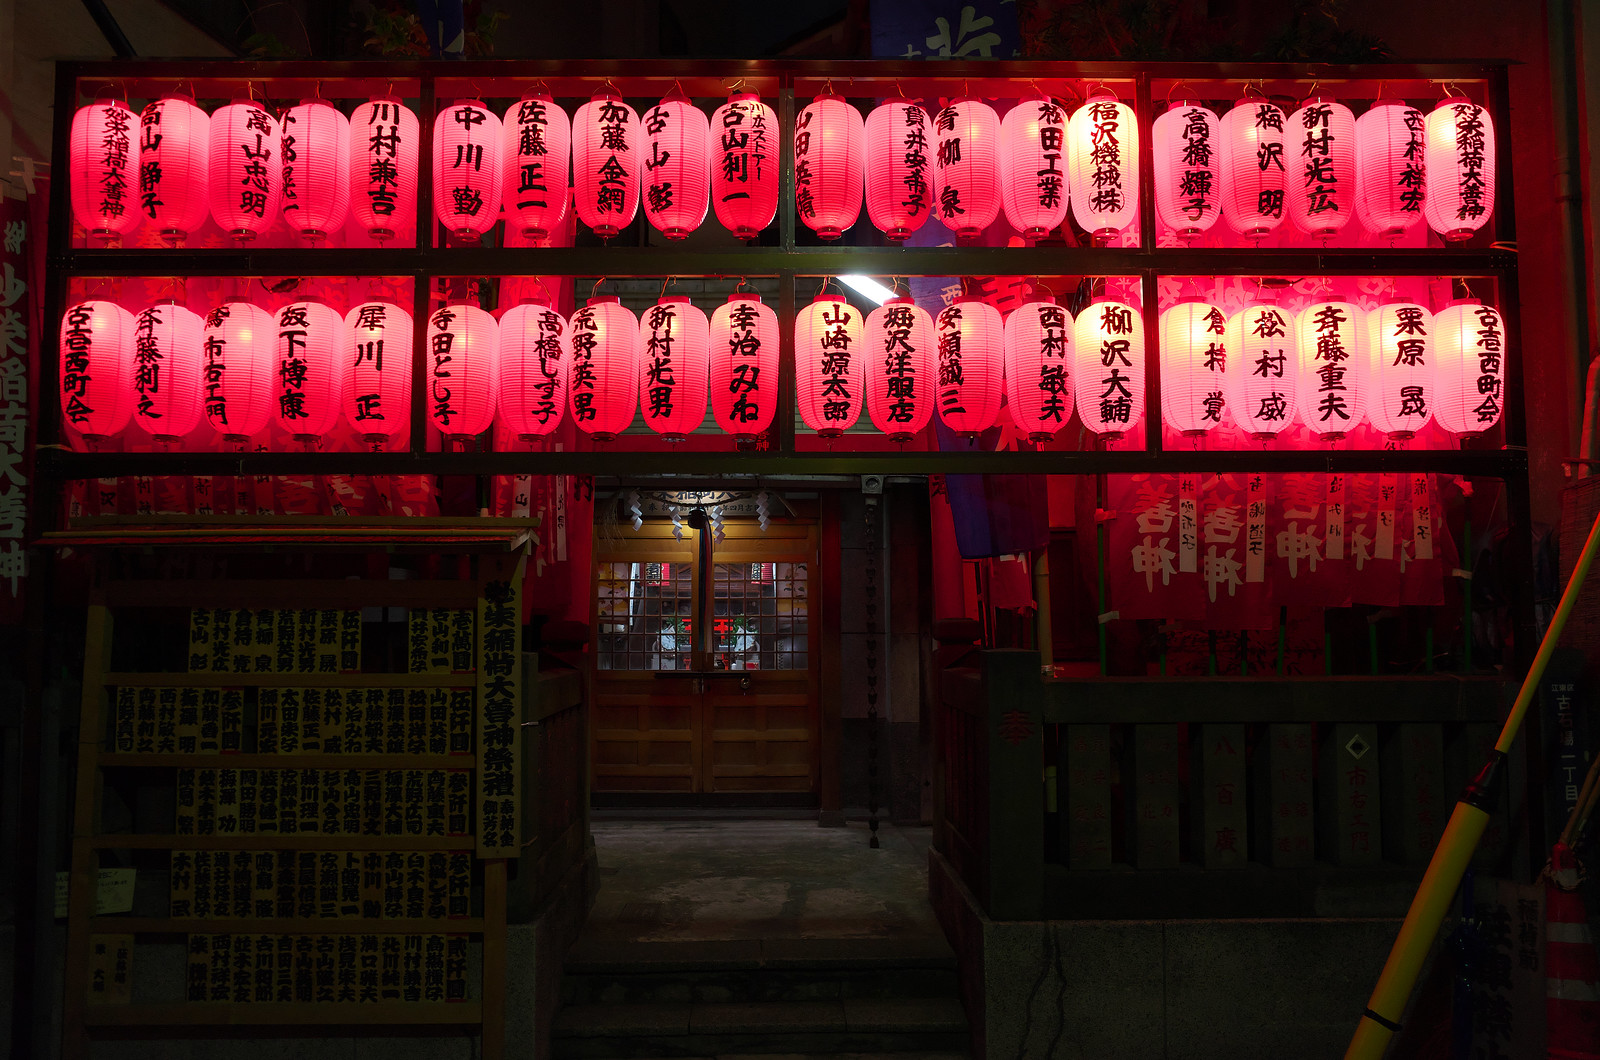
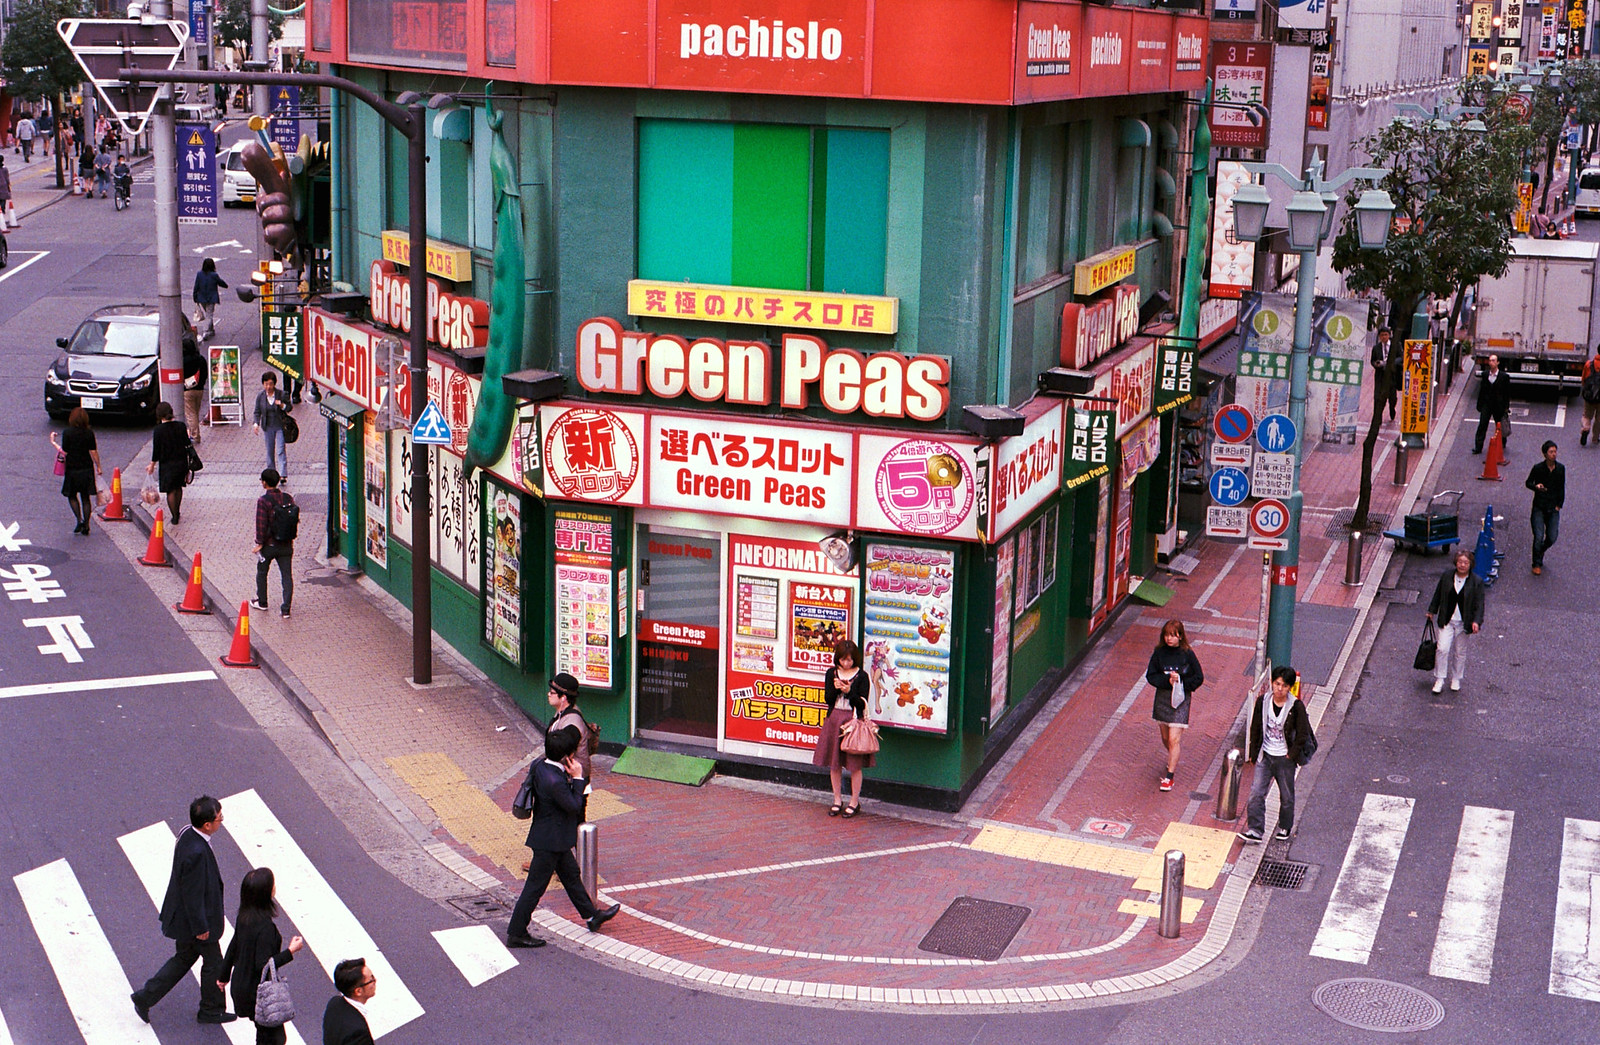
 Shot with the ga645i and Kodak Ektar 100
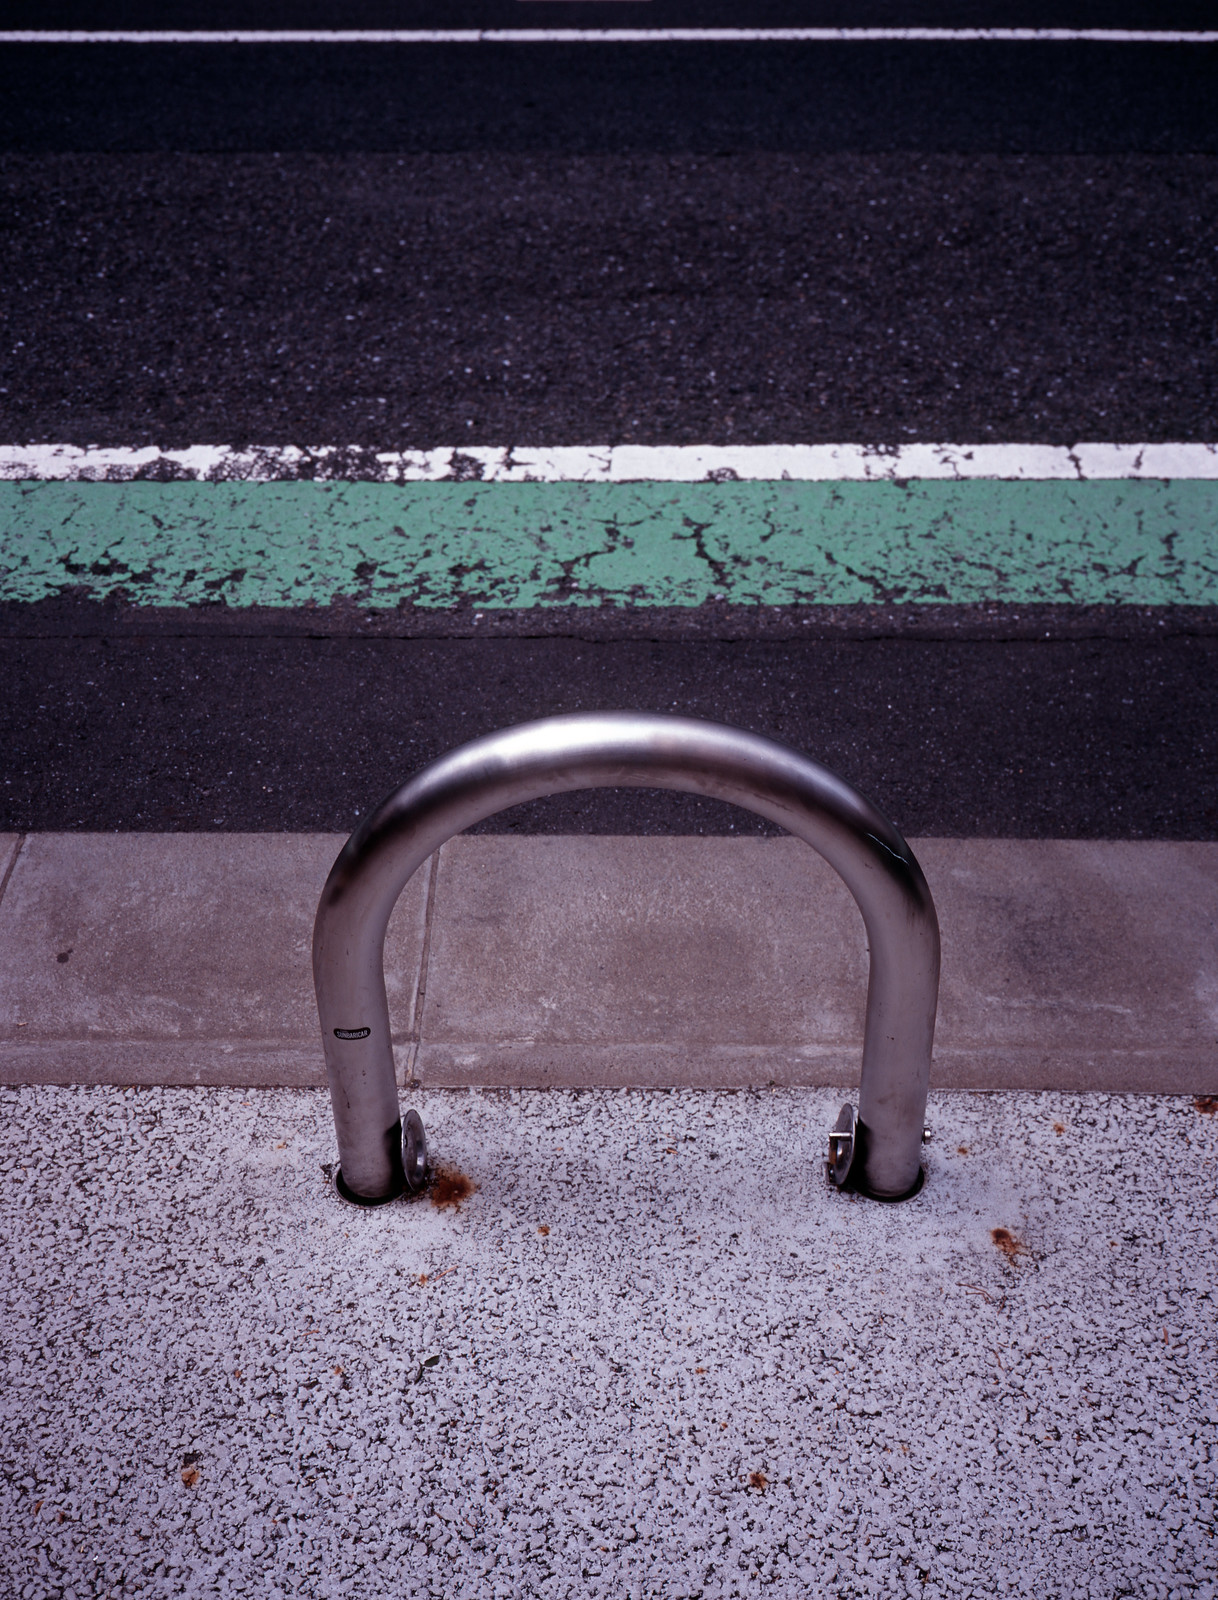
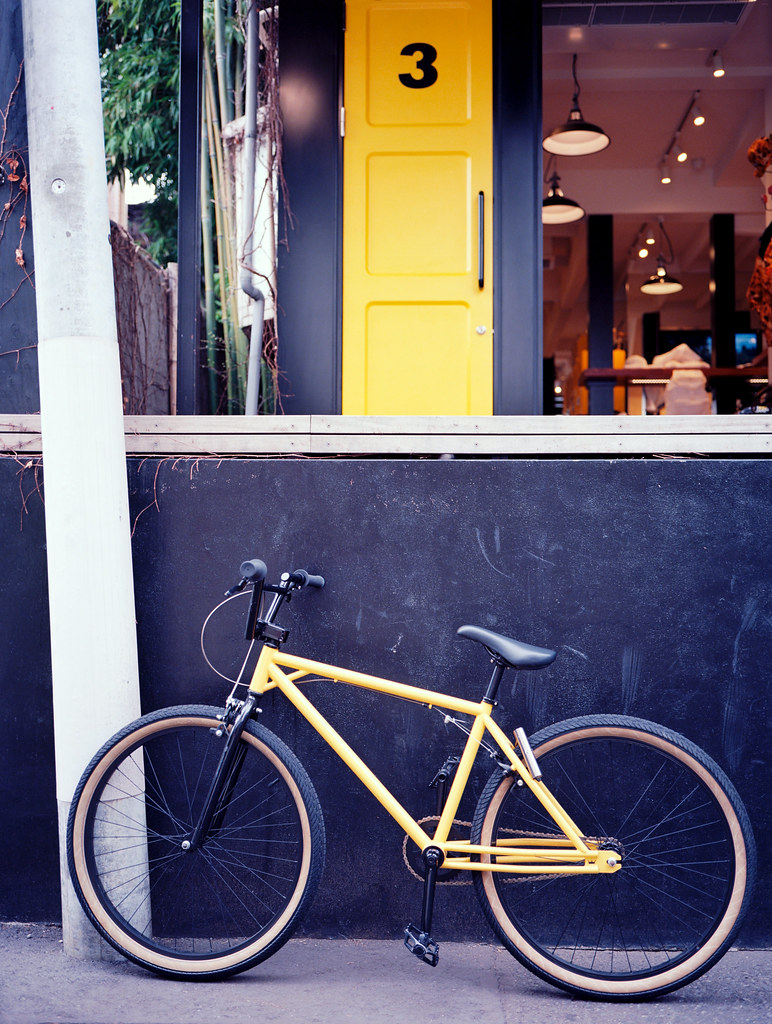
Due to the wide-ish nature of the lens and a maximum aperture of only F4, bokeh isn’t often dominant; however, despite the contrasty and sharp lens, it isn’t too fussy when it does appear.
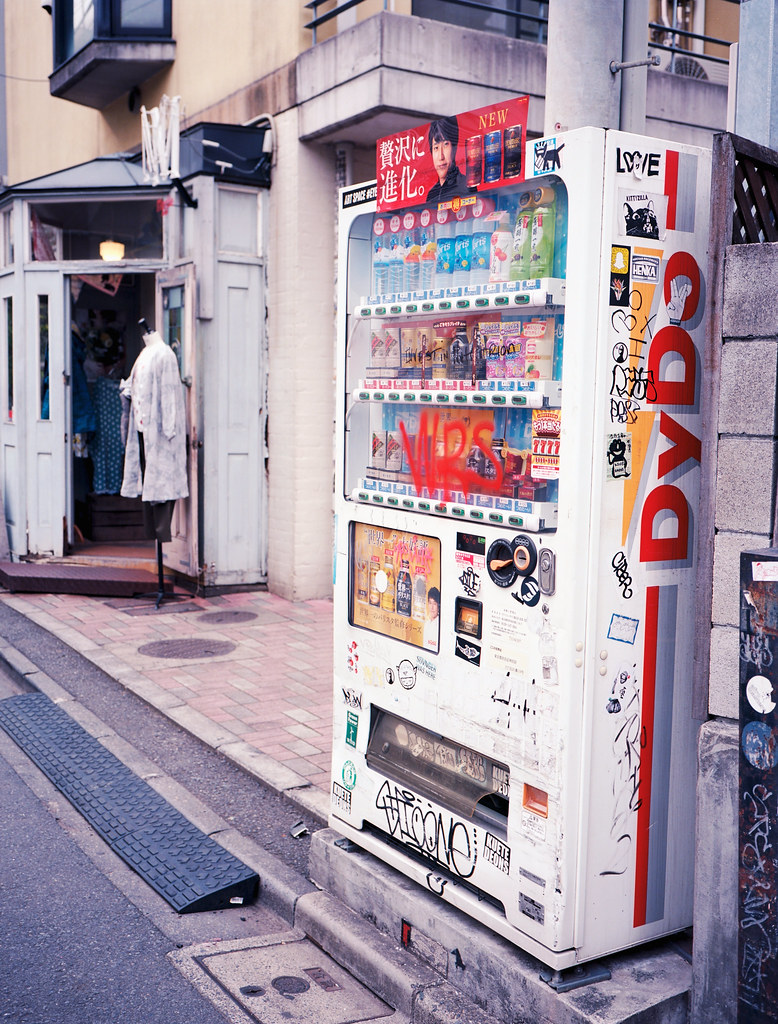
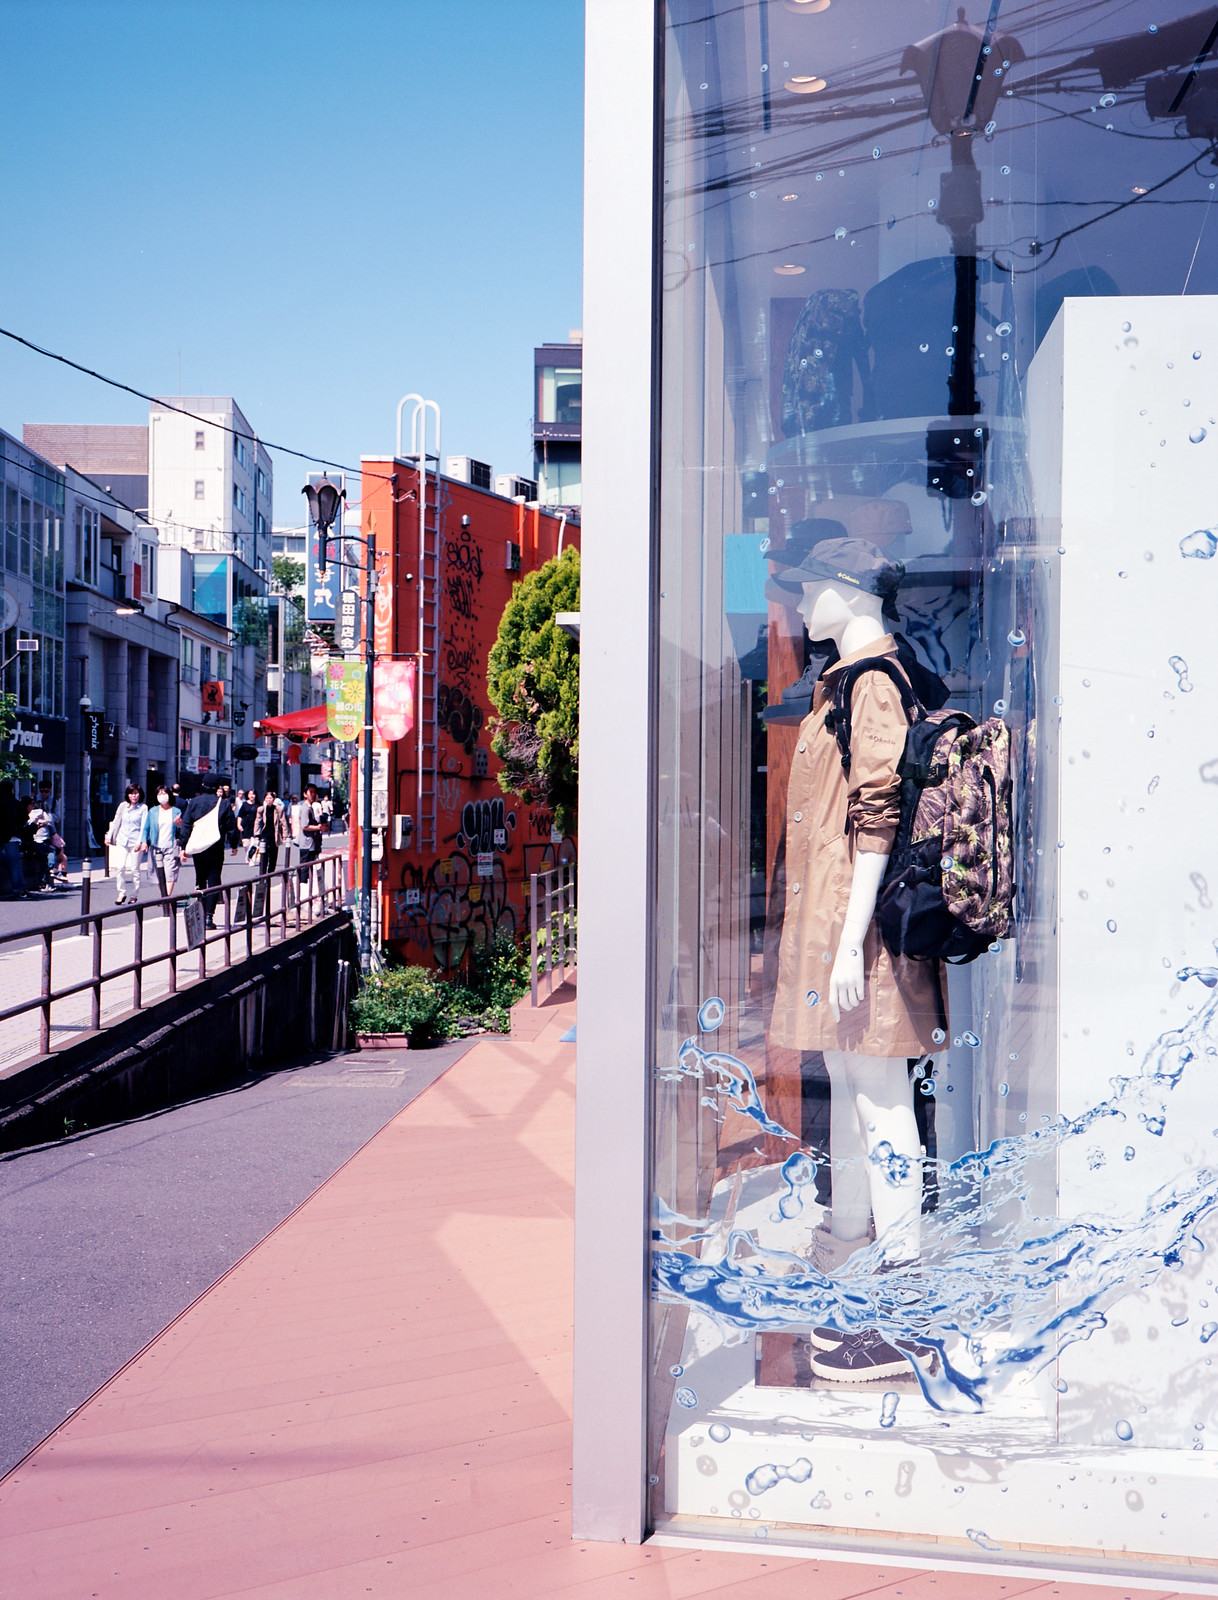
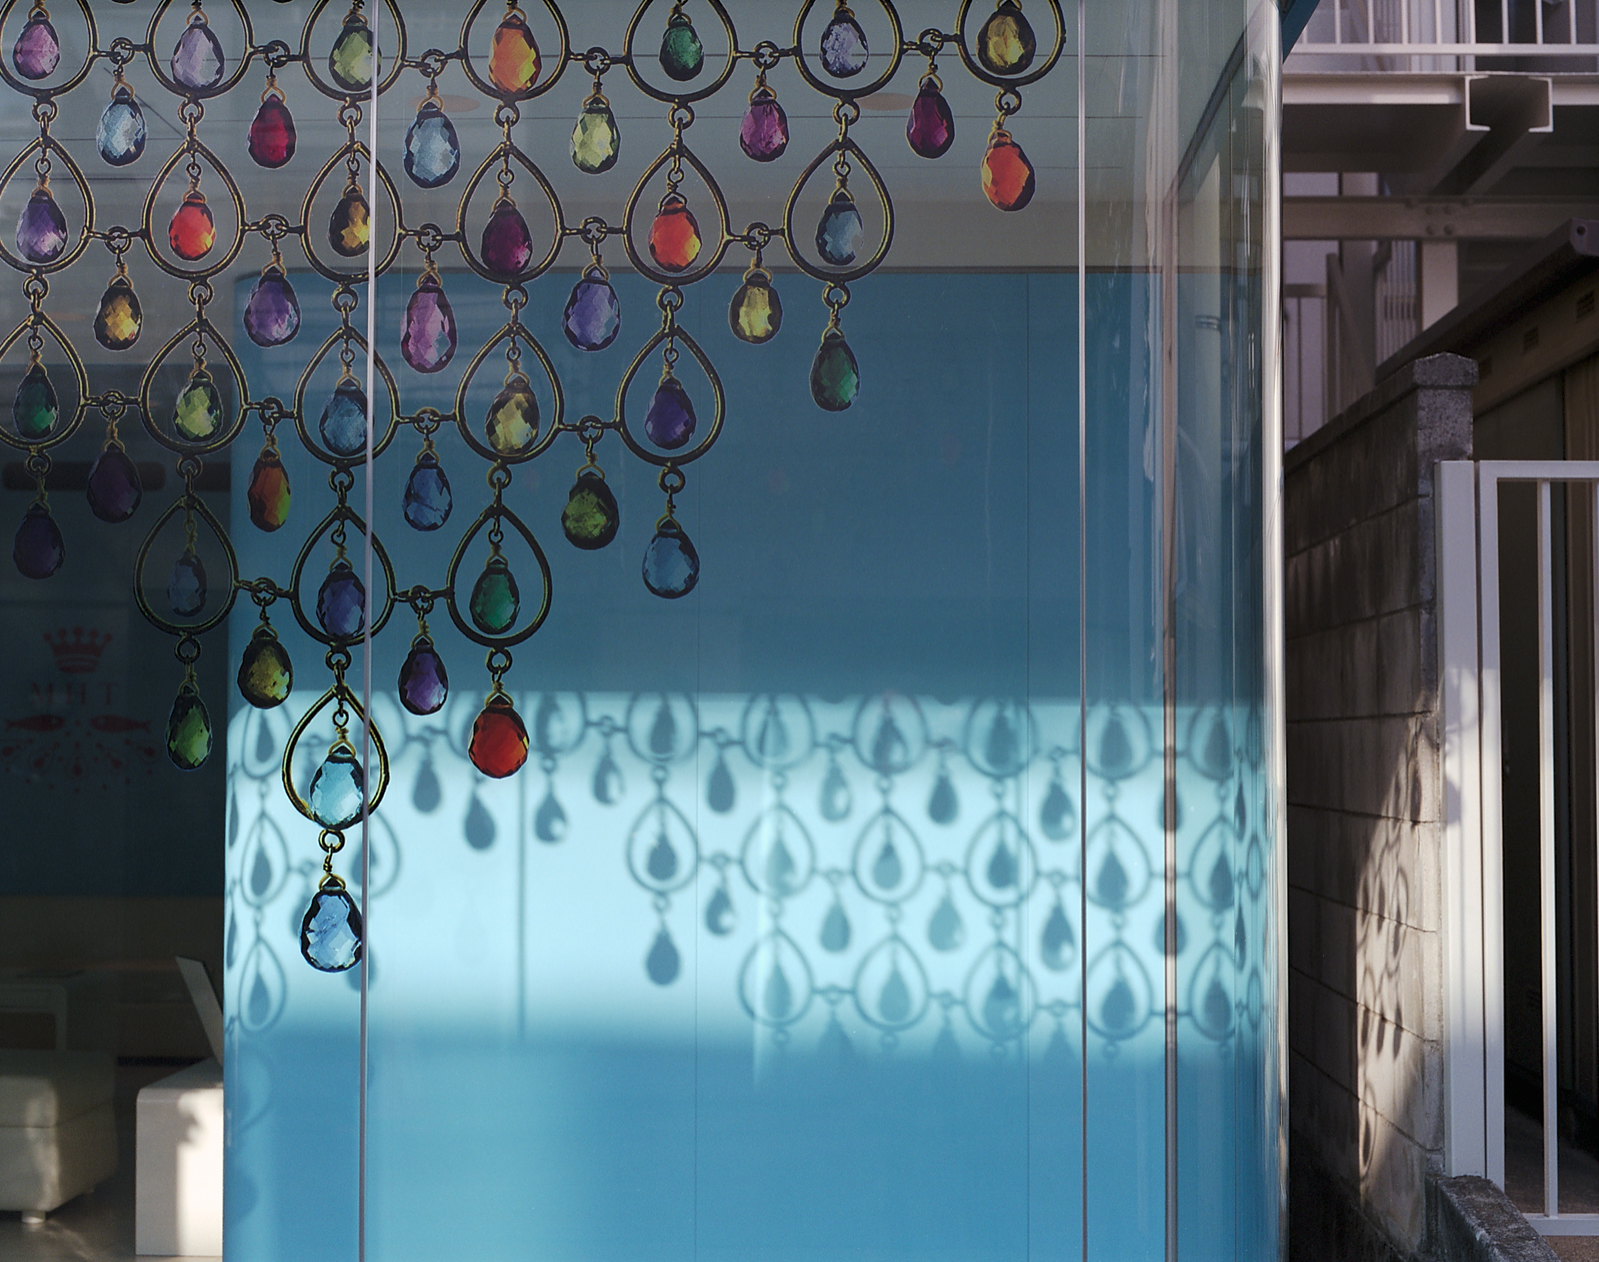
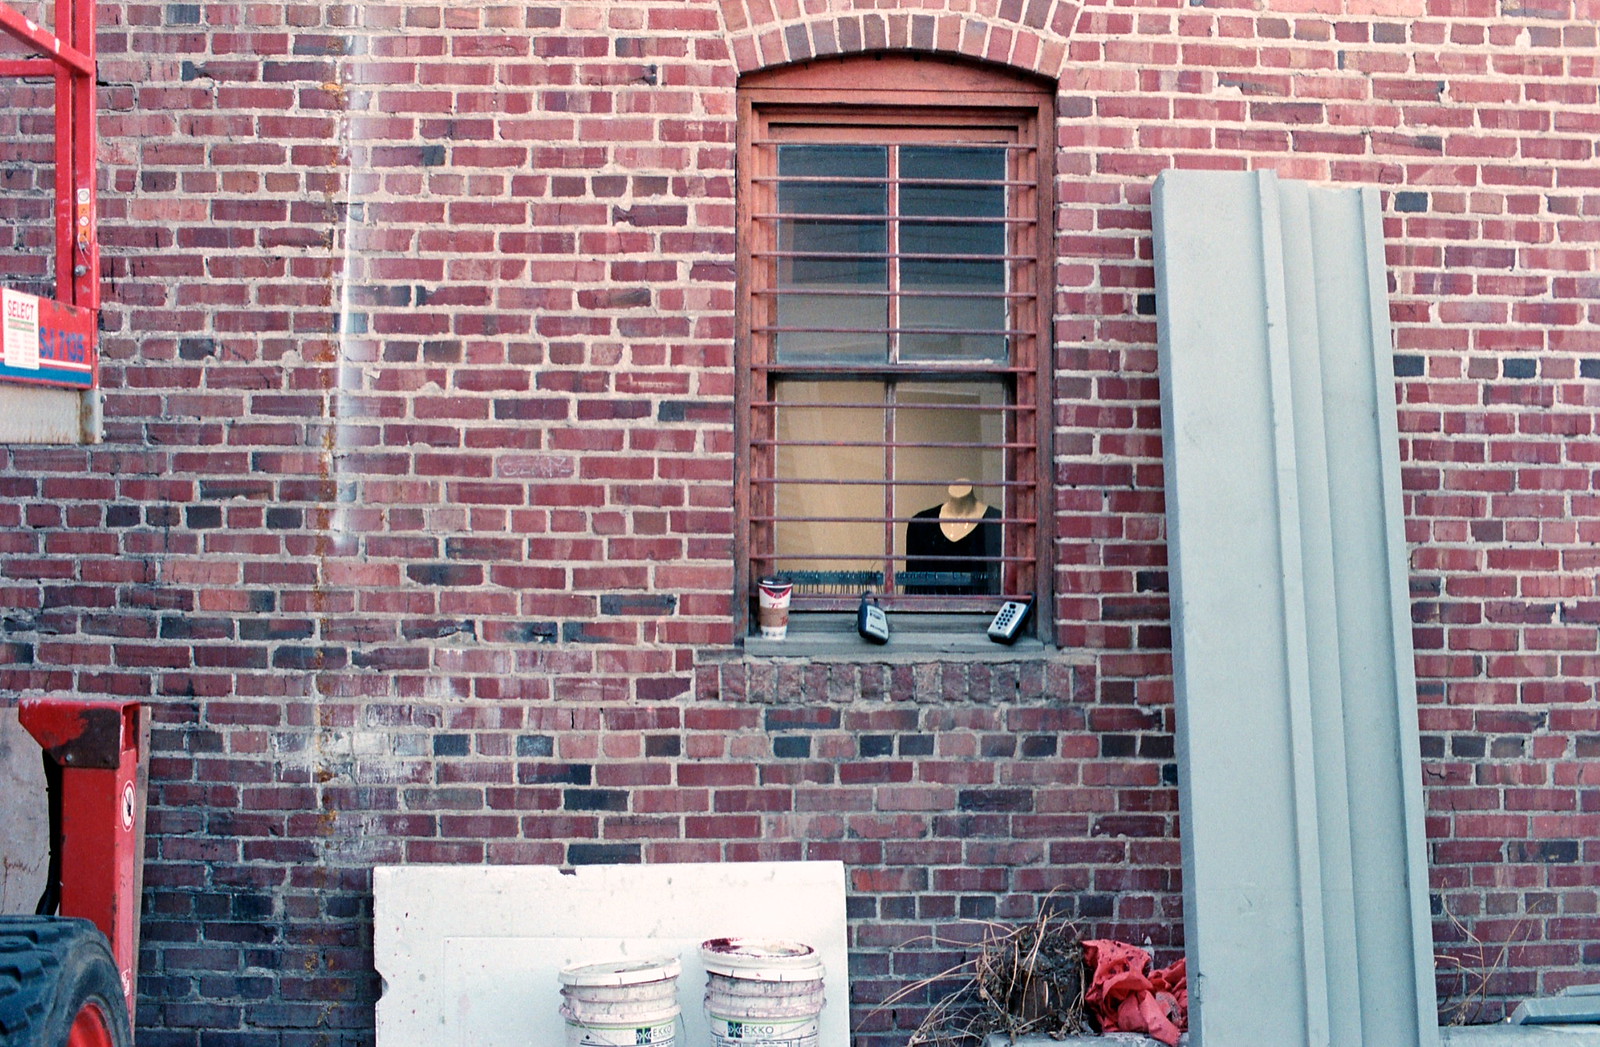
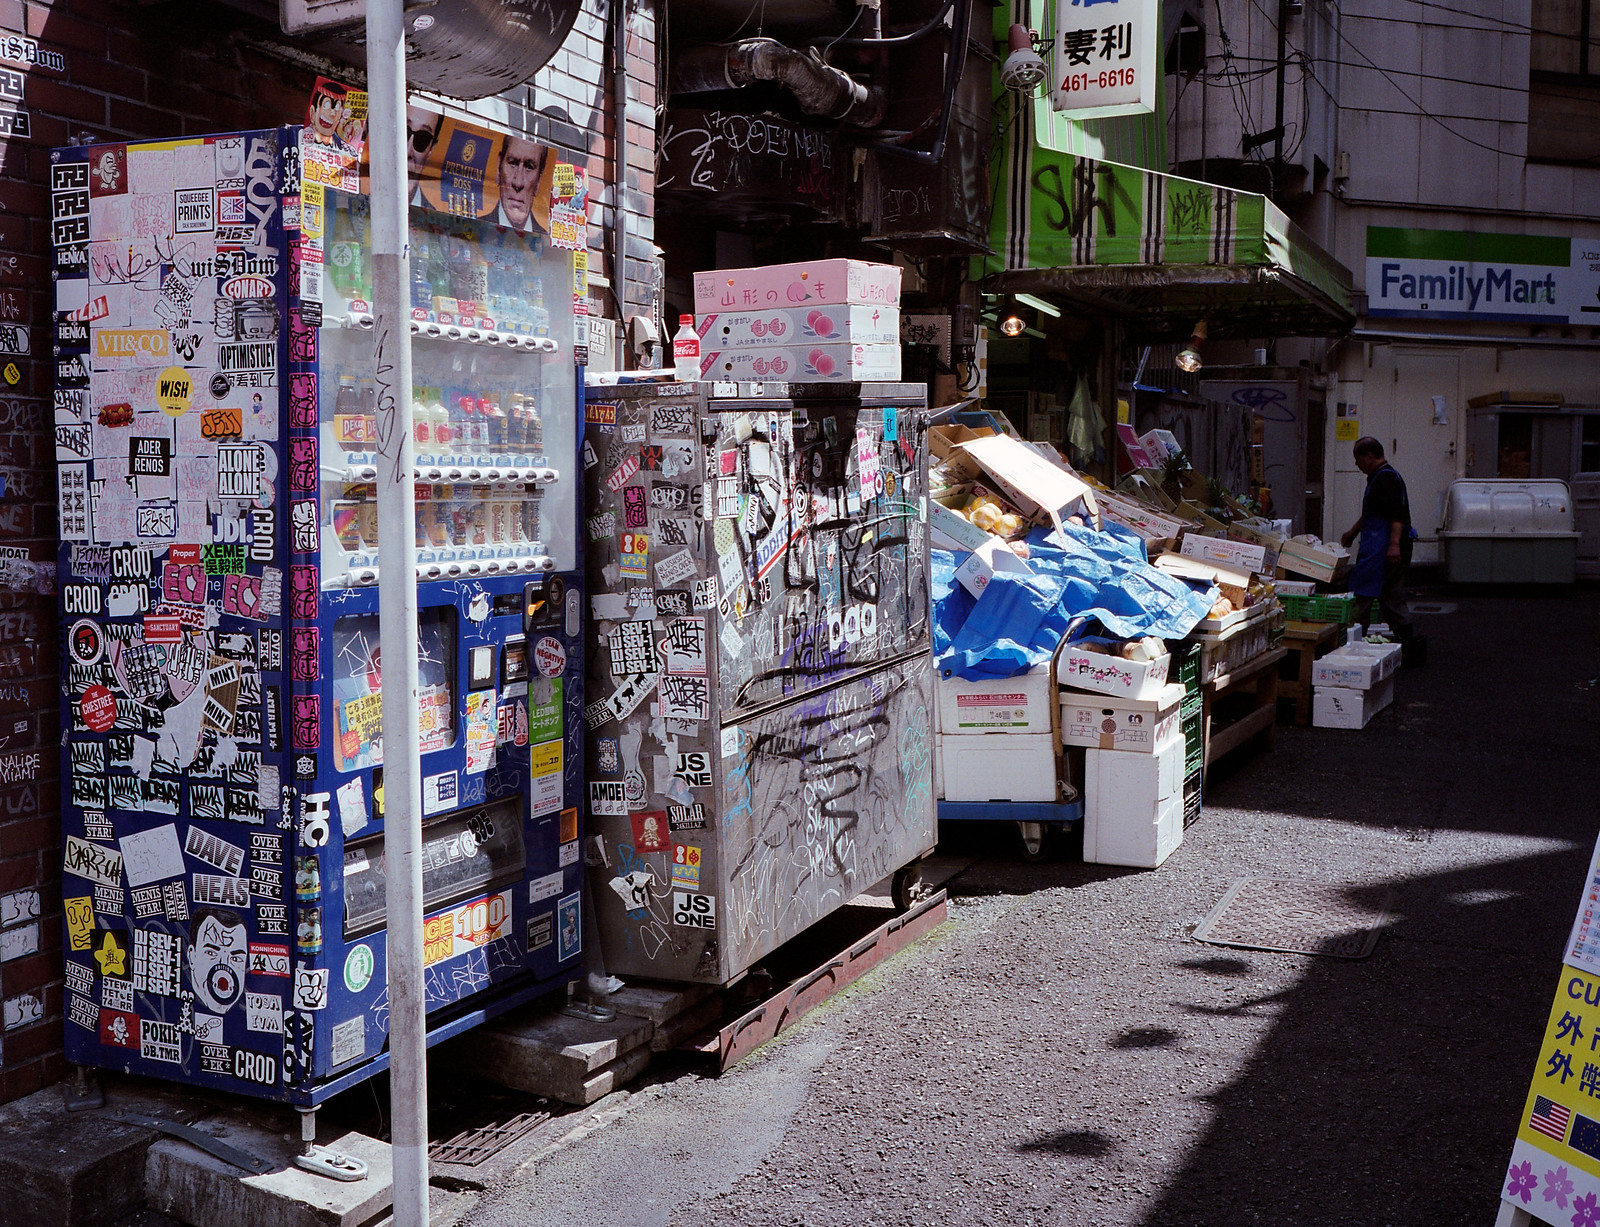
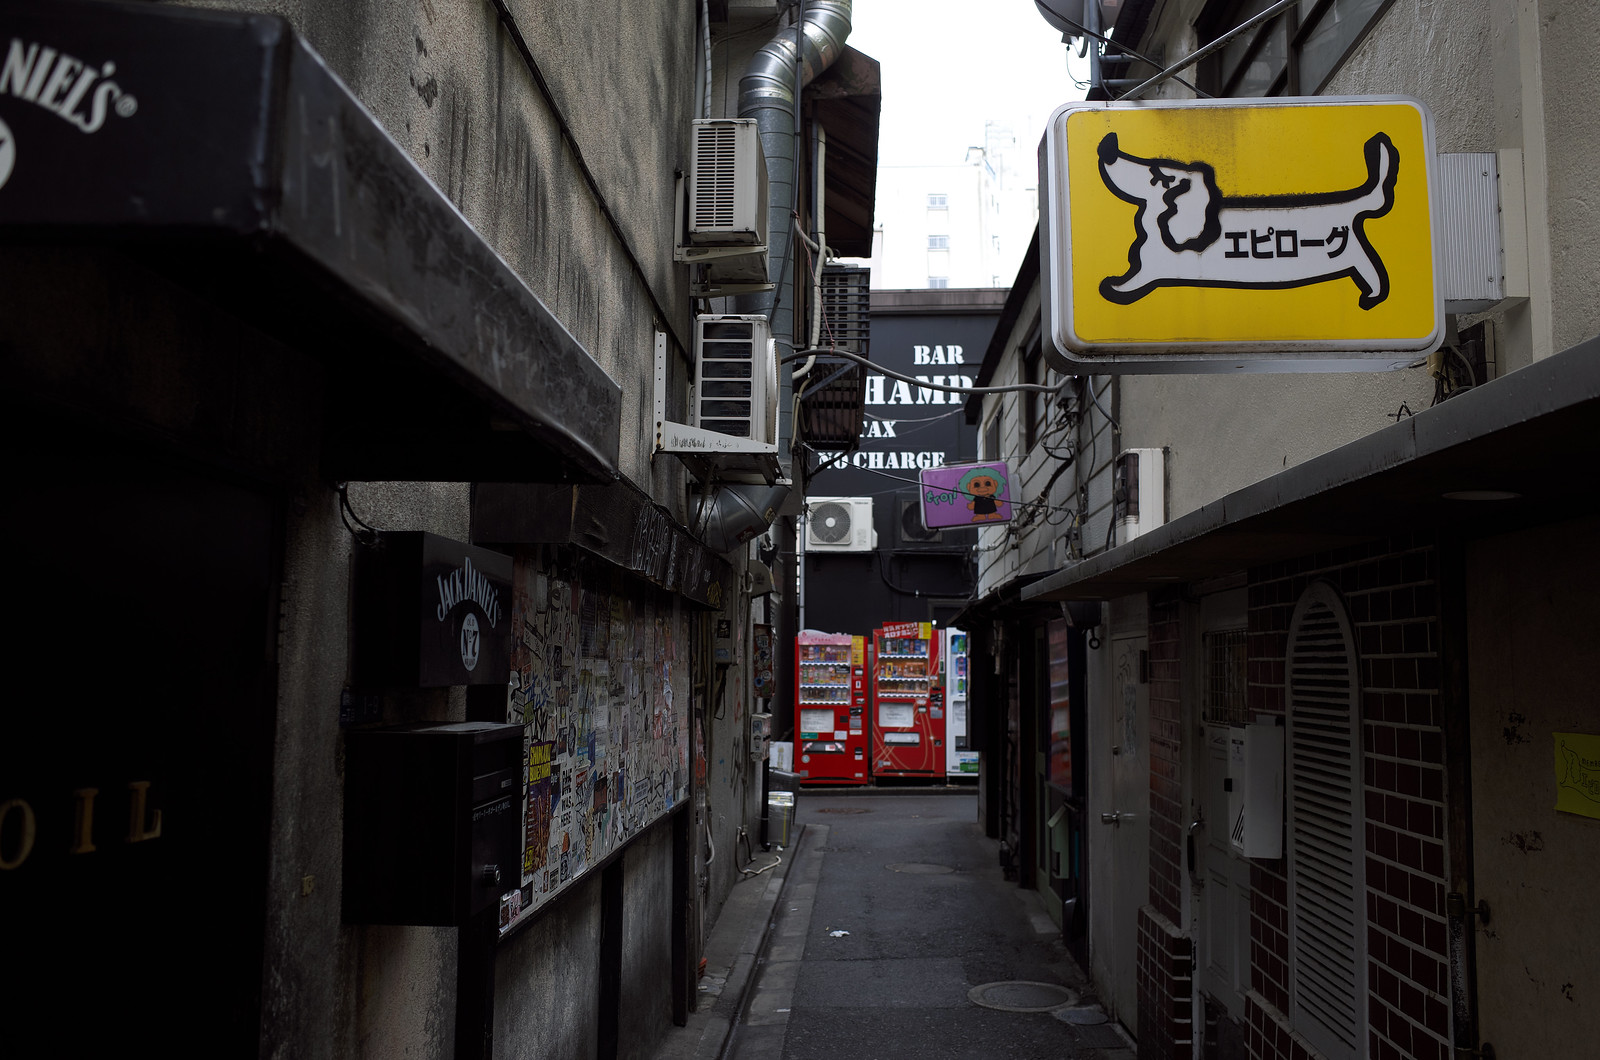
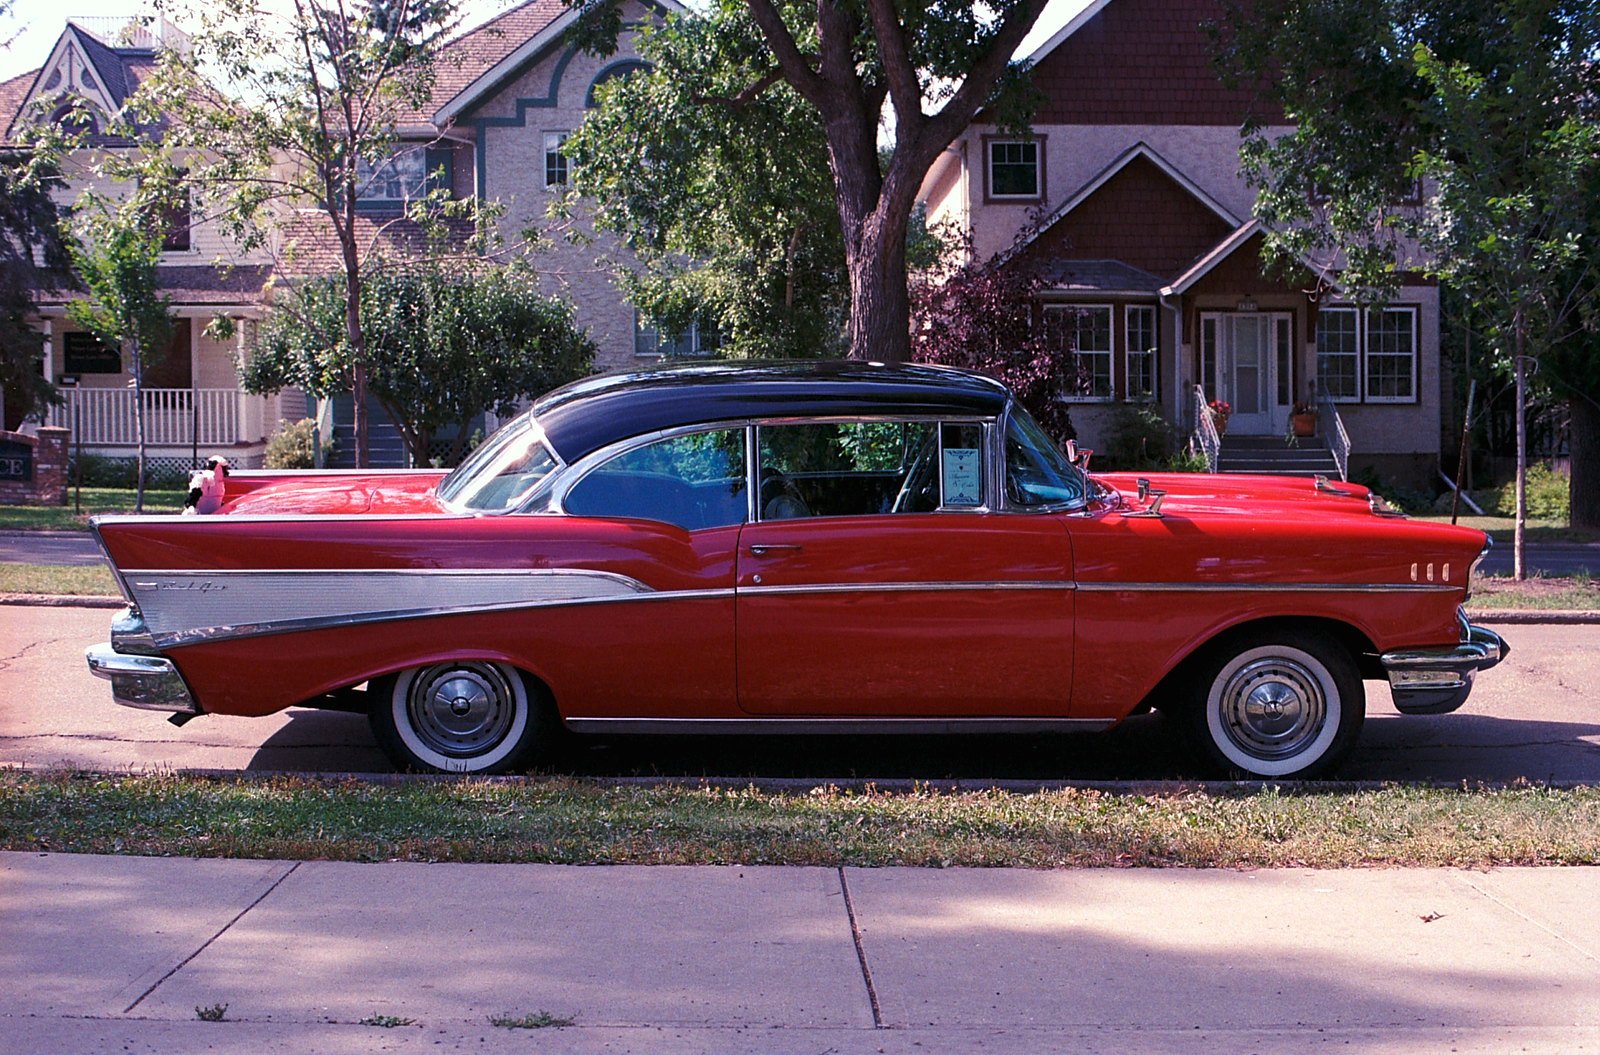
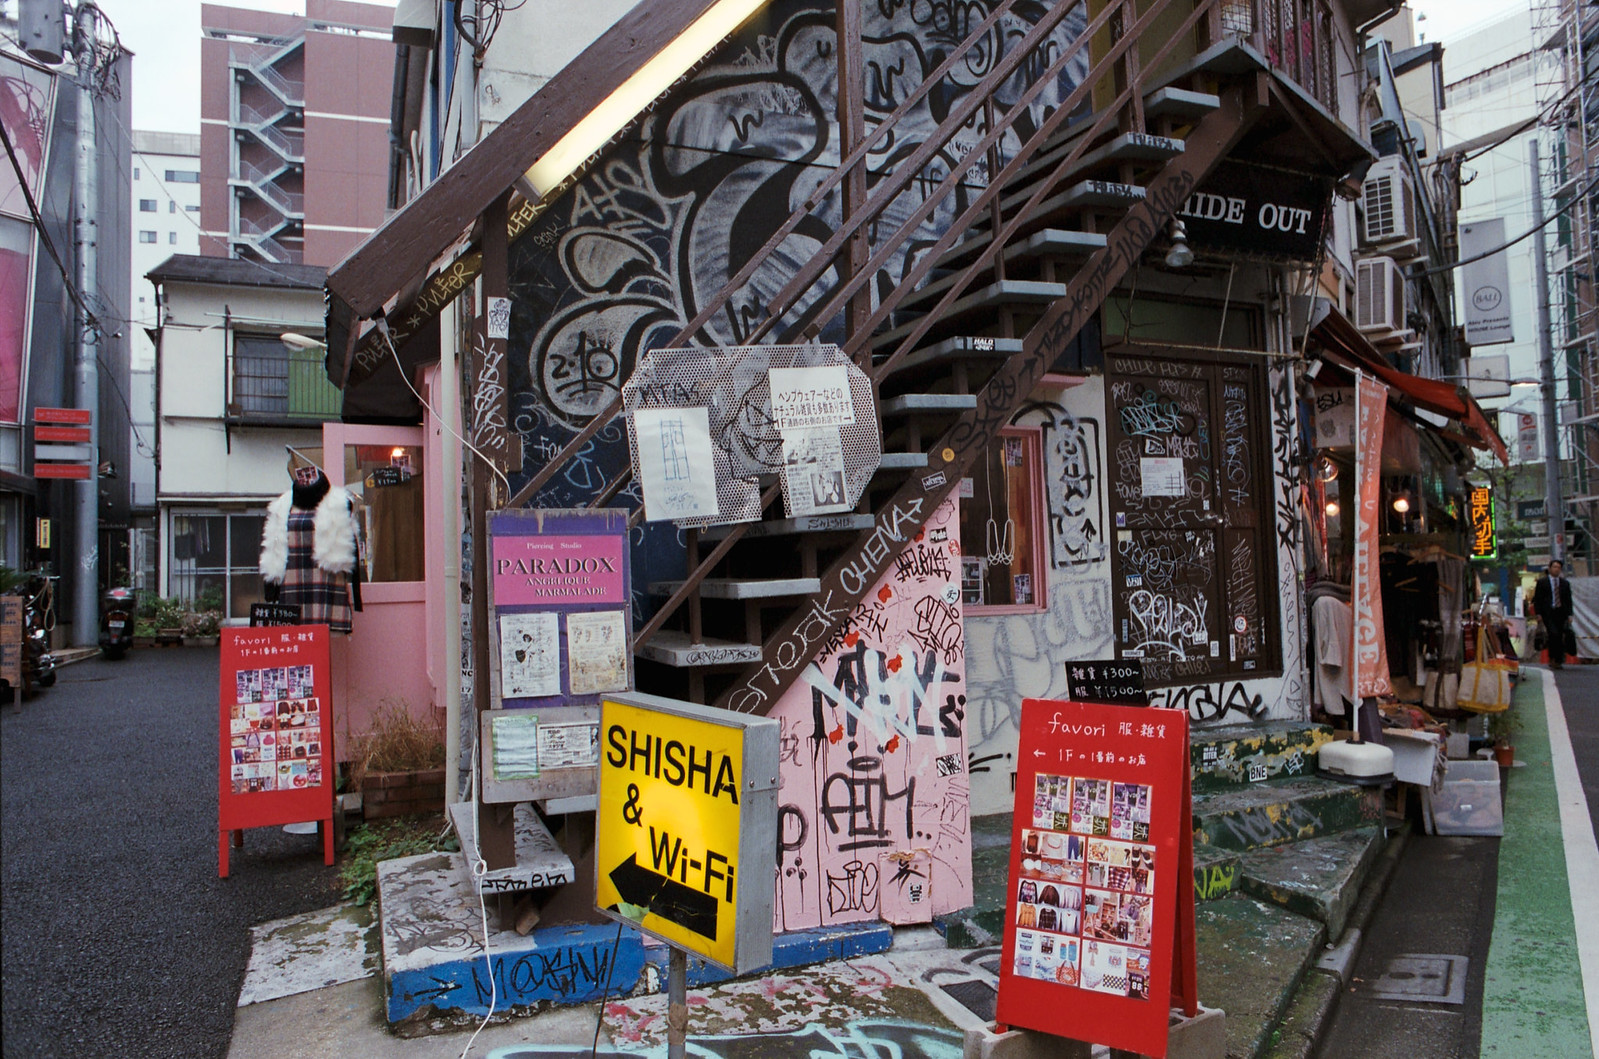
 A bit of bokeh when shot close and wide open with Fujifilm 400h
Usage
One of the unique and desirable things about the ga645i is that it is a medium format film camera that can be shot one handed. Mode changes and exposure compensation require a second hand but focusing, aperture or shutter speed changes, and shutter releasing can all be done with the right hand. While I prefer the tactile nature of fully manual cameras, the advantage of this auto setup comes into play when shooting in the rain since it can be used while holding an umbrella.
Autofocus is slow by today’s standards but not bothersome for static subjects. Accuracy is quite good but it is important to develop a habit of checking the focus distance (which is displayed in the viewfinder) to ensure that the camera is focused on the expected subject. The offset viewfinder is bright and large and easy to use with glasses. It also has parallax correction and the frame edges seem quite accurate.
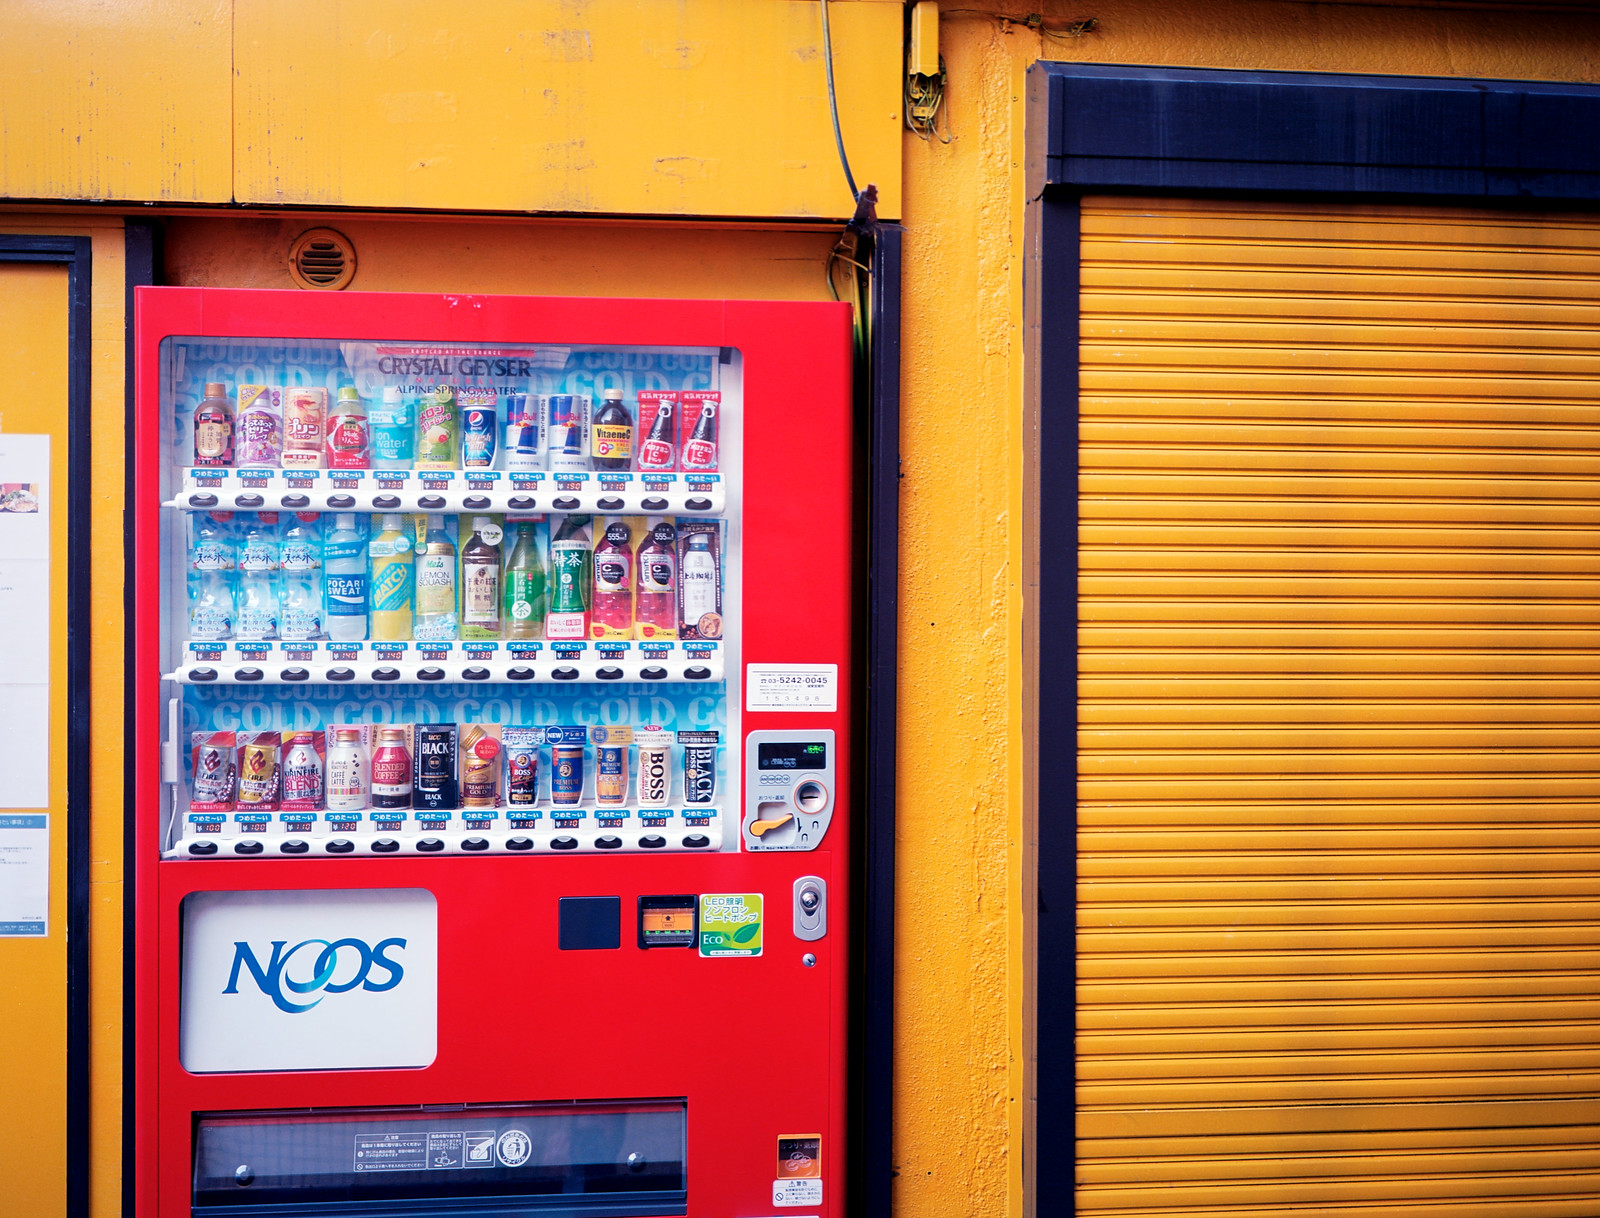
Besides a quirk explained in the list of weaknesses, the ga645i is the easiest to load medium format film camera I’ve used. Small red buttons pop out the spools and the control dial advances the film in small controllable increments. Once the film is rolled a bit, closing the film door causes the camera to automatically wind the film to readiness.
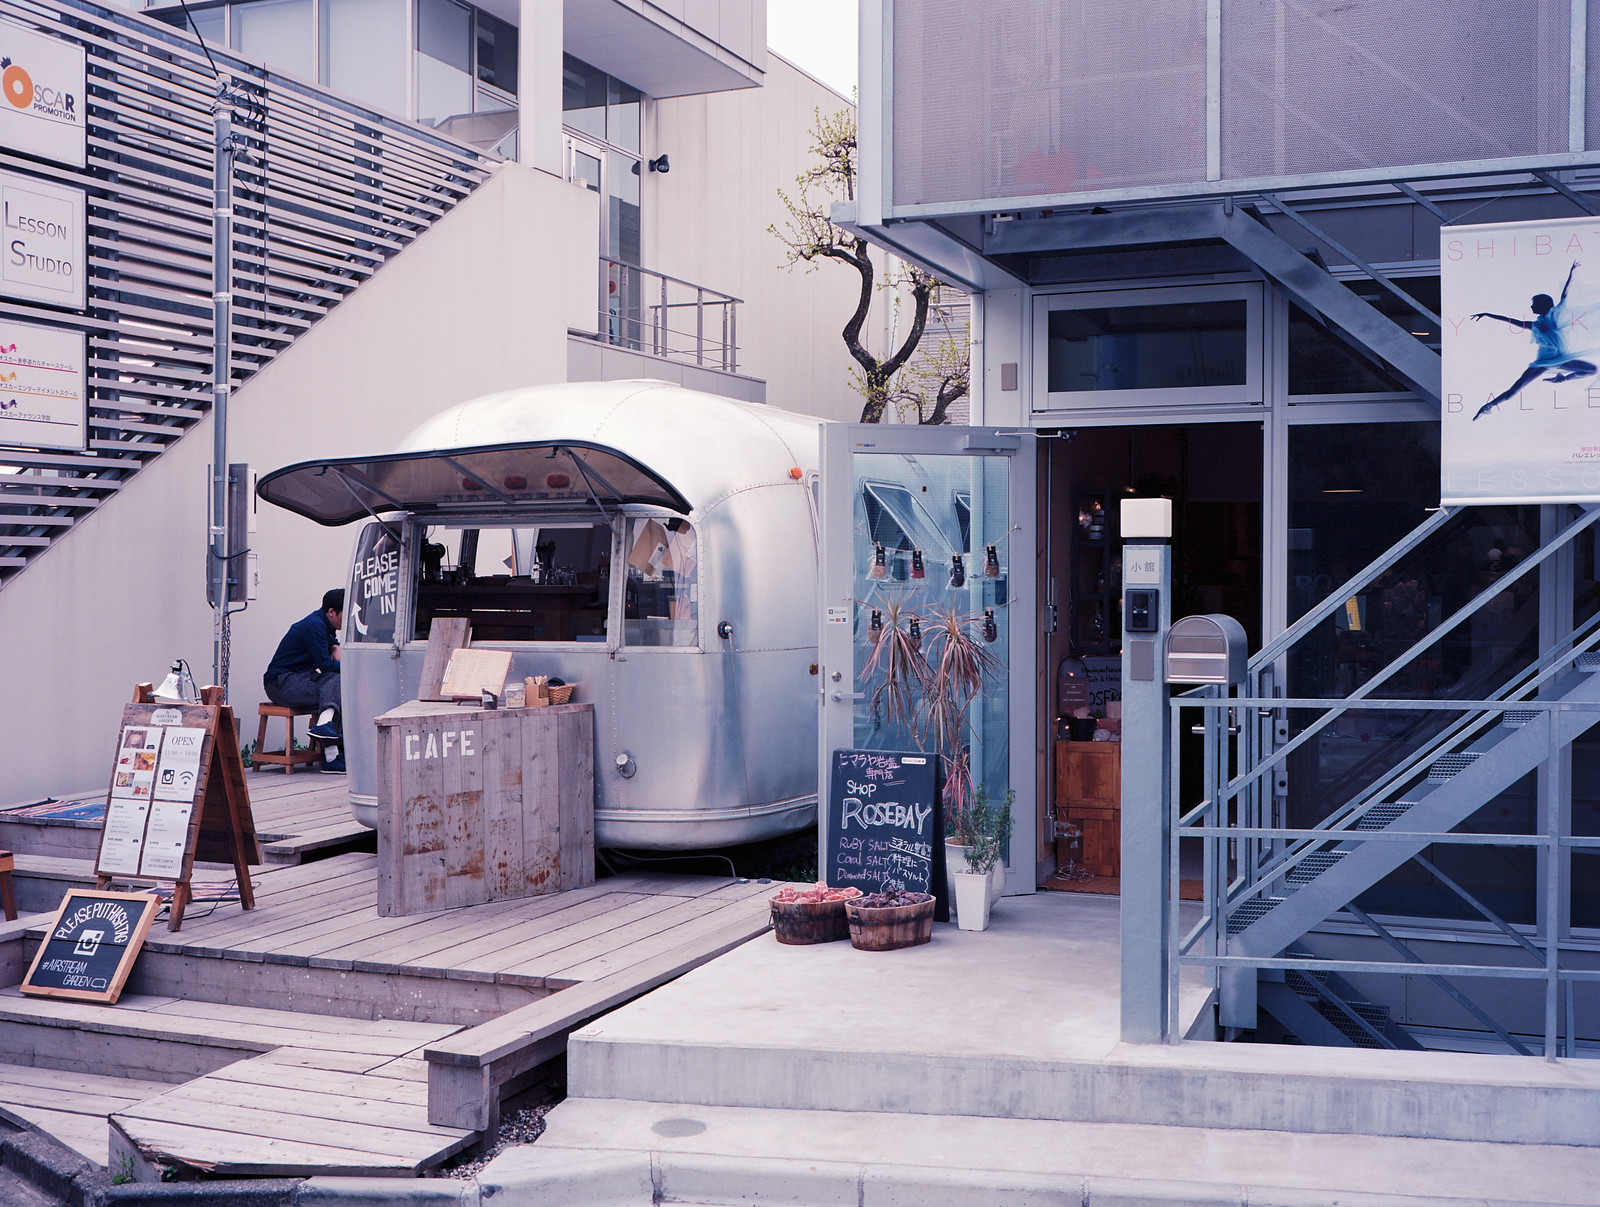
 ga645i loaded with Fujifilm 400h
Weaknesses
The ga645i has a few weaknesses. Some of these could have probably been easily avoided while others may be necessary compromises to keep the size and weight down. The following is a list of disadvantages the Fuji has when compared to other “typical” medium format cameras.
- No AE lock.
One metering technique I often use in tricky lighting situations is to point the camera towards an area I want to be medium gray, lock the exposure, and then recenter to lock the focus and then recompose to shoot the desired composition. Since the camera doesn’t have an AE lock this isn’t possible. There is an AF lock button, so one can focus on a subject and recompose and expose for the final framing.
- Battery Requirement.
Nothing on the camera works without a battery. Without power the film can’t even be wound, so the roll is stuck in the camera until power is re-established. Fortunately the cr123a batteries are reasonably easy to come by.
- Digital only settings display.
When the power is off, none of the settings are visible. To see how many shots were taken on a roll, or the current iso setting, the camera has be turned on. Since the lens extends every time the camera is turned on, I’m reluctant to induce the wear and tear just to check how many shots remain on a roll.
- Poor manual focus.
Manual focus is awkward and difficult to get right. Since it isn’t a SLR and doesn’t have a rangefinder patch, one has to use the distance reading to judge manual focus.
- Fujifilm film loading issue.
This last point is rather surprising and might be specific to my copy of the camera, but my Fuji ga645i has trouble winding Fuji branded film properly unless using a Fuji spool. With a non-Fuji spool, Fuji film sometimes comes out very loosely rolled, to the point where there are minor light-leaks on the edge of some frames. I haven’t experienced the problem when using Kodak or Ilford films. Fuji spools have a little knob that hooks on a hole at the start of a Fuji roll to ensure there is no slippage. I now bring extra Fuji spools with me so I don’t have to worry about switching film brands. None of my other medium format cameras have this restriction.
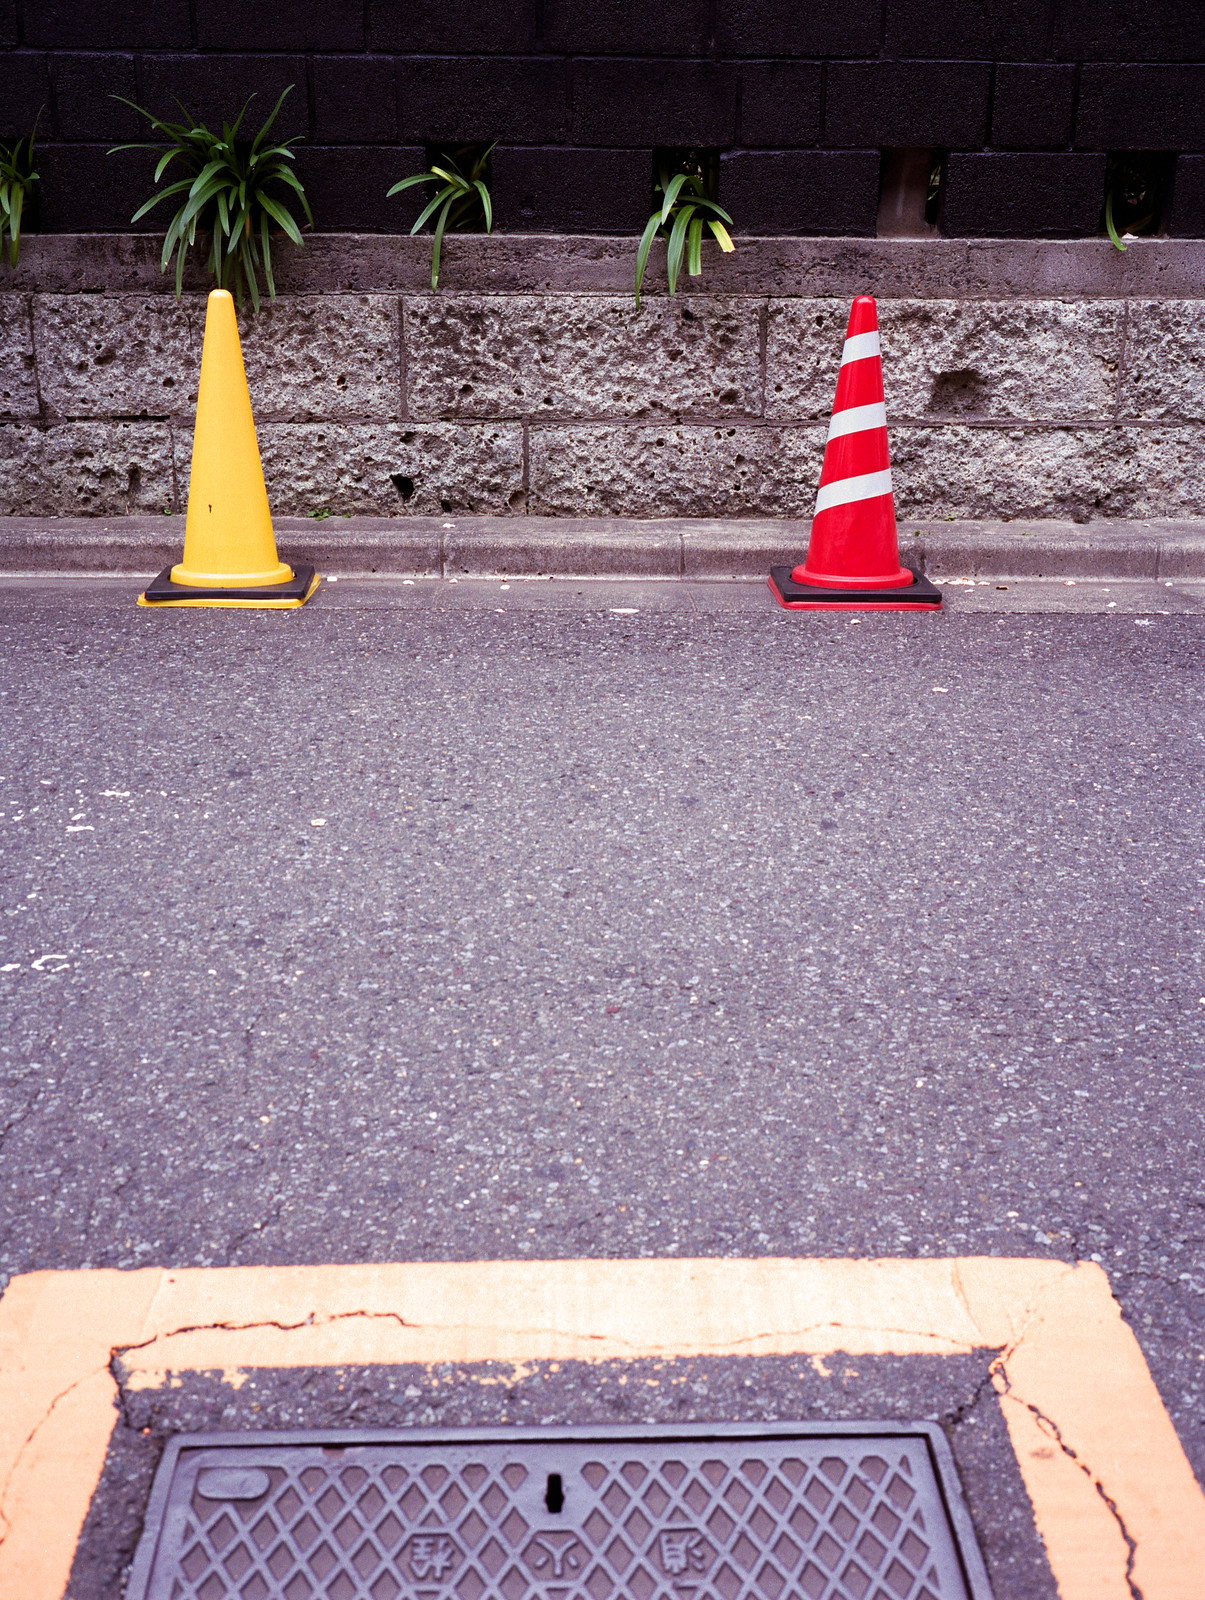
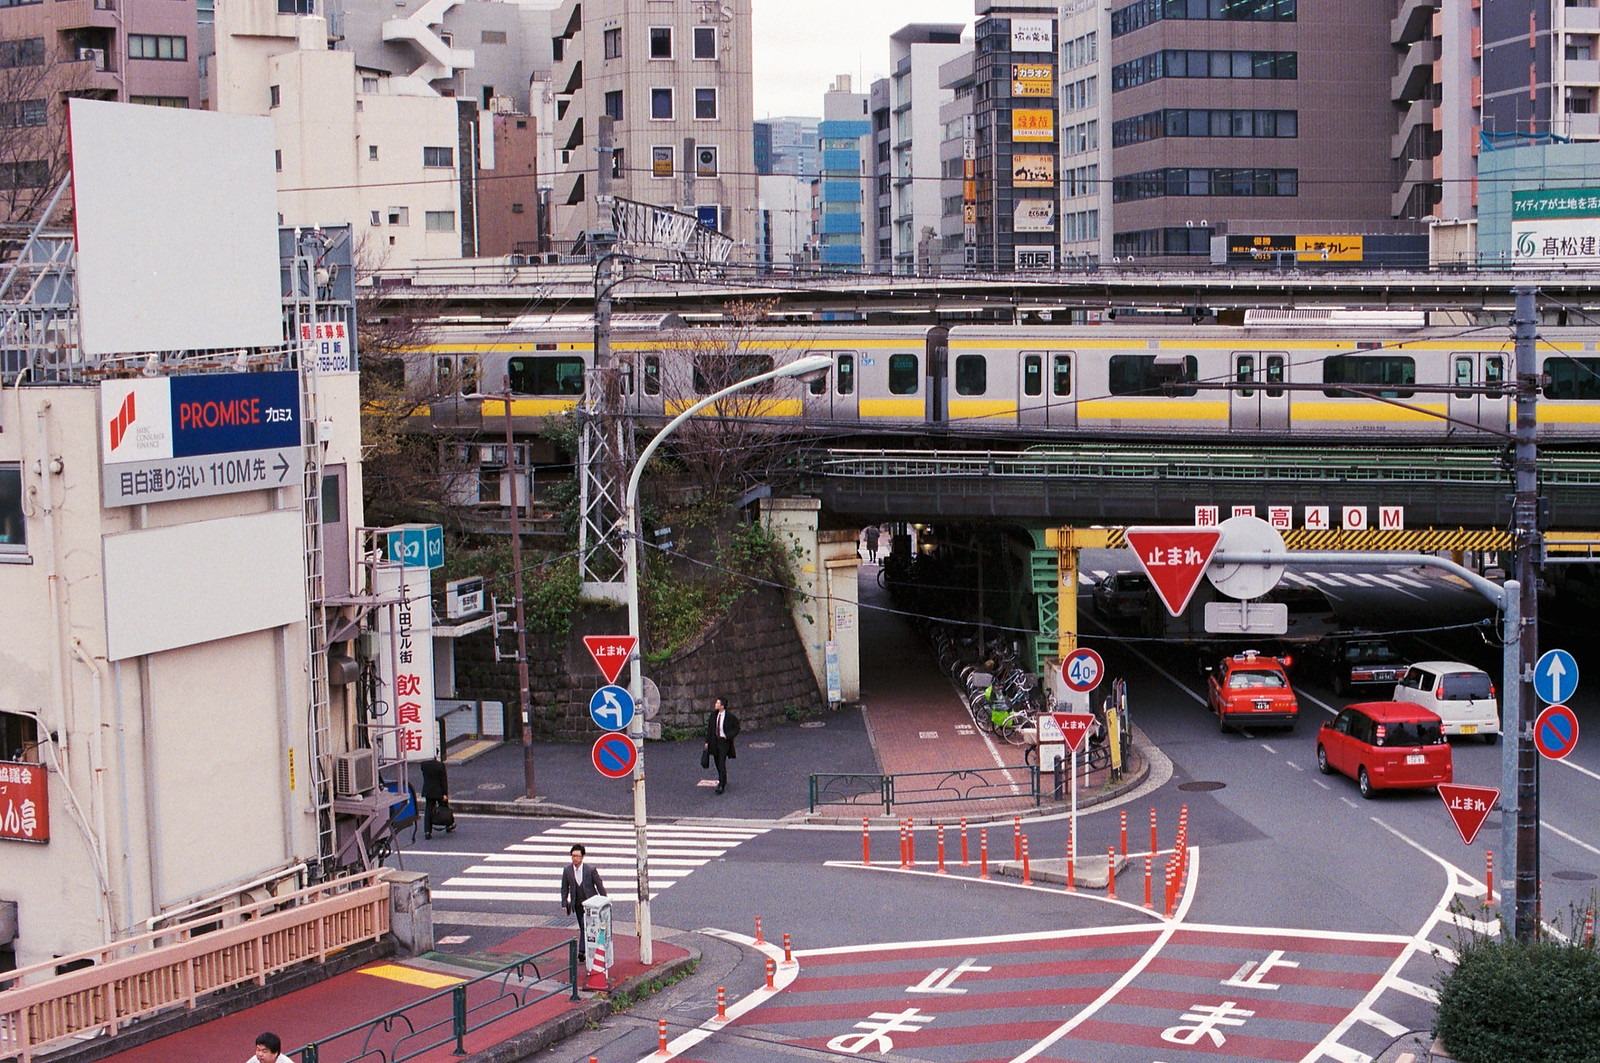
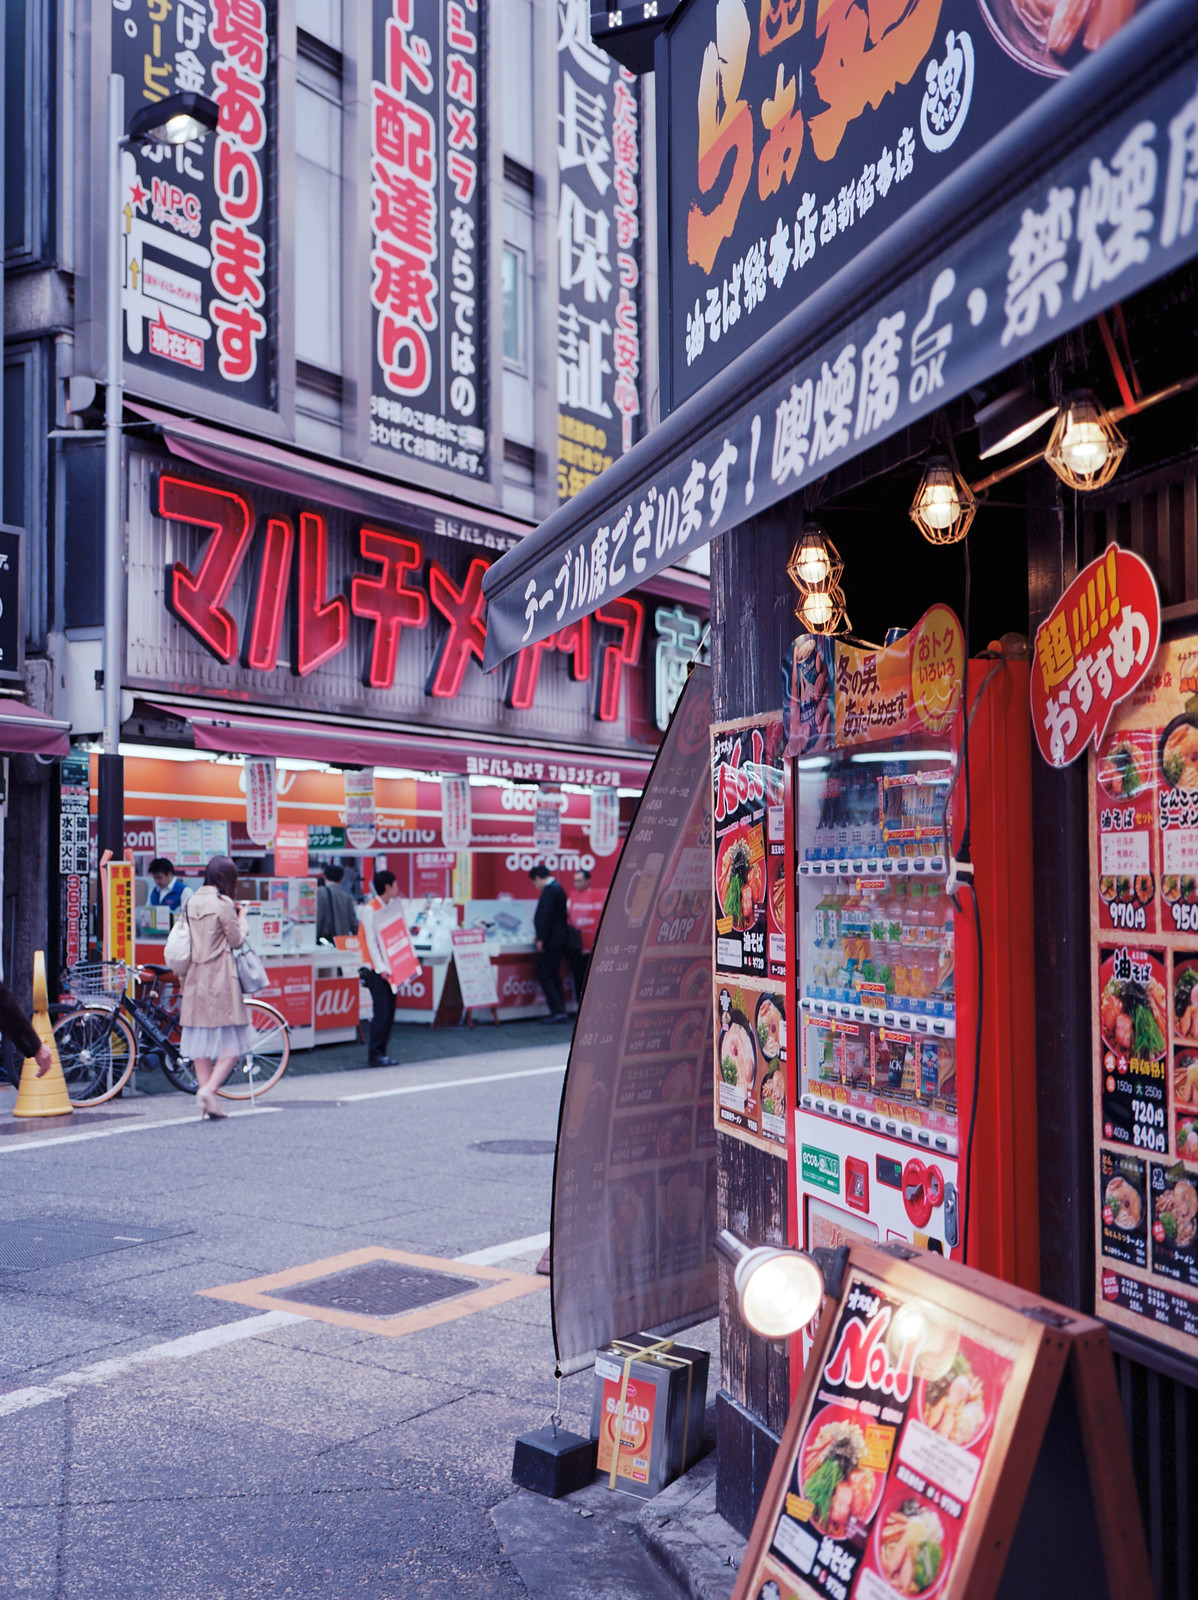
 ga645i with Kodak Ektar 100
Conclusion
Despite the longish list of negatives, I really like this camera, and would not hesitate to recommend it to anyone looking for a lightweight medium format travel camera.
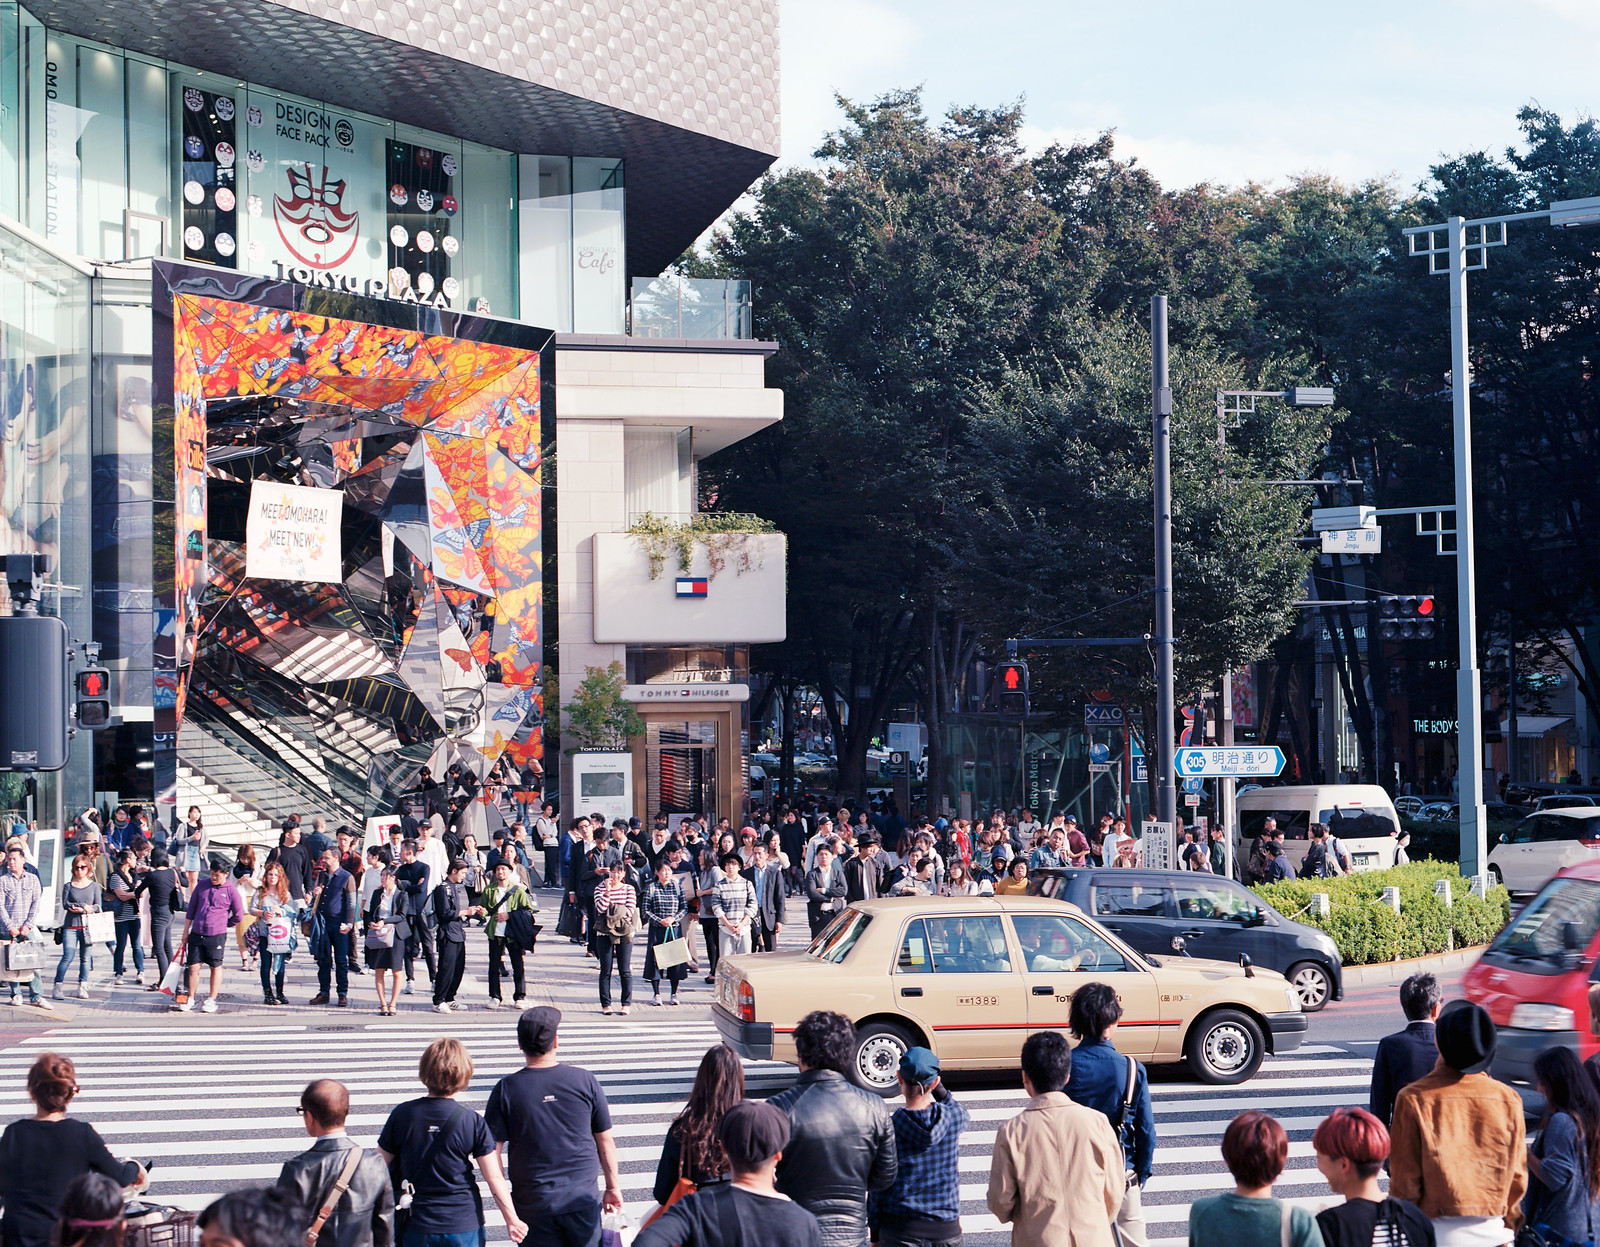
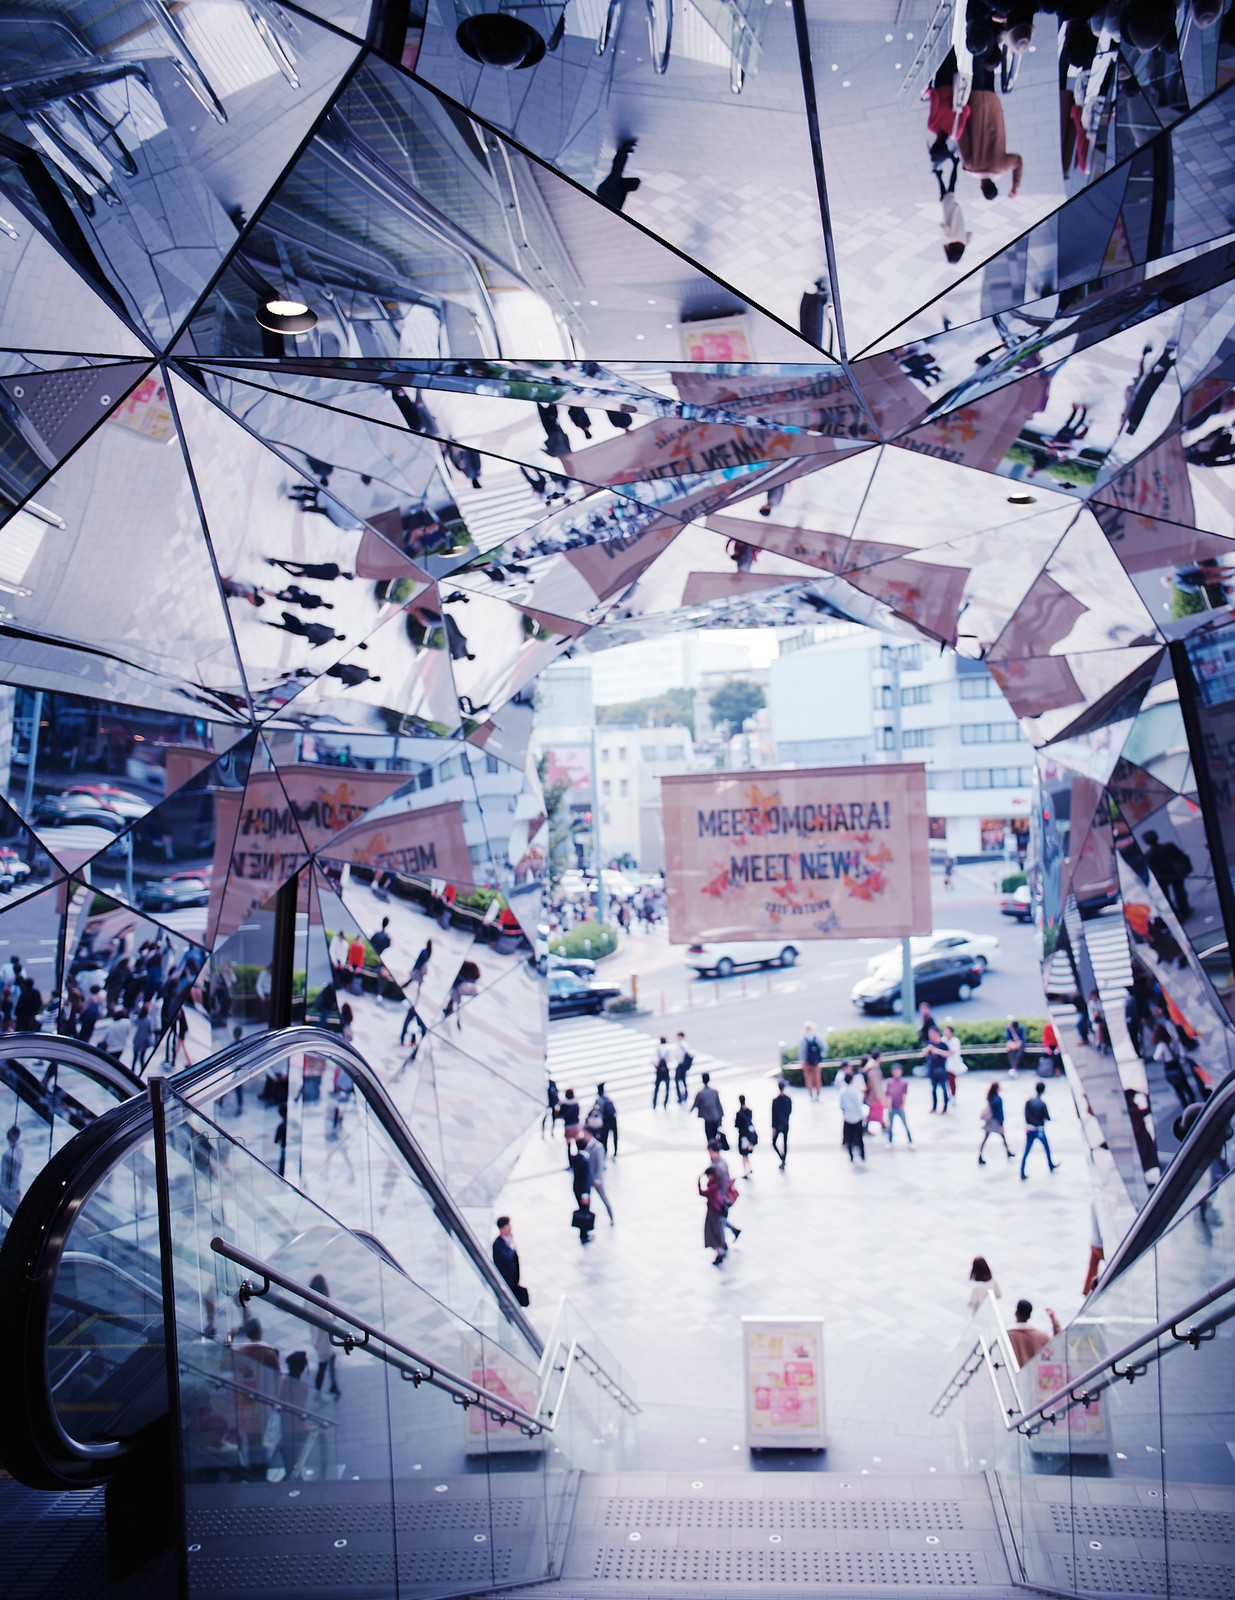
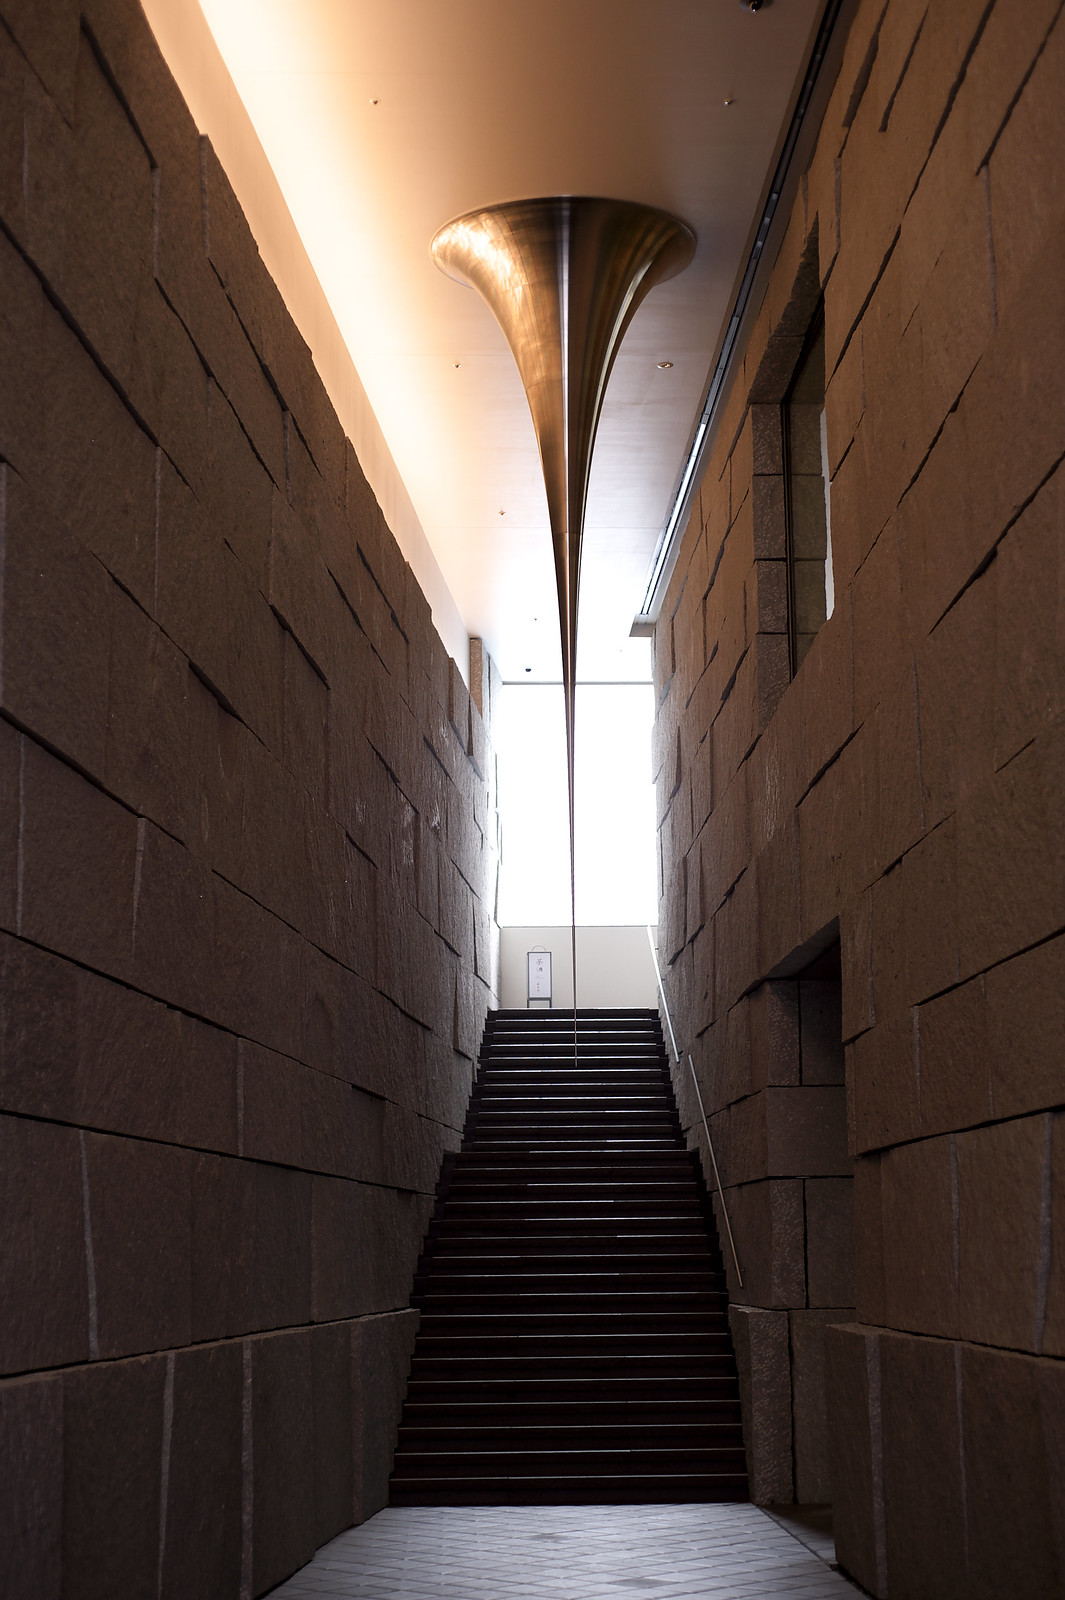
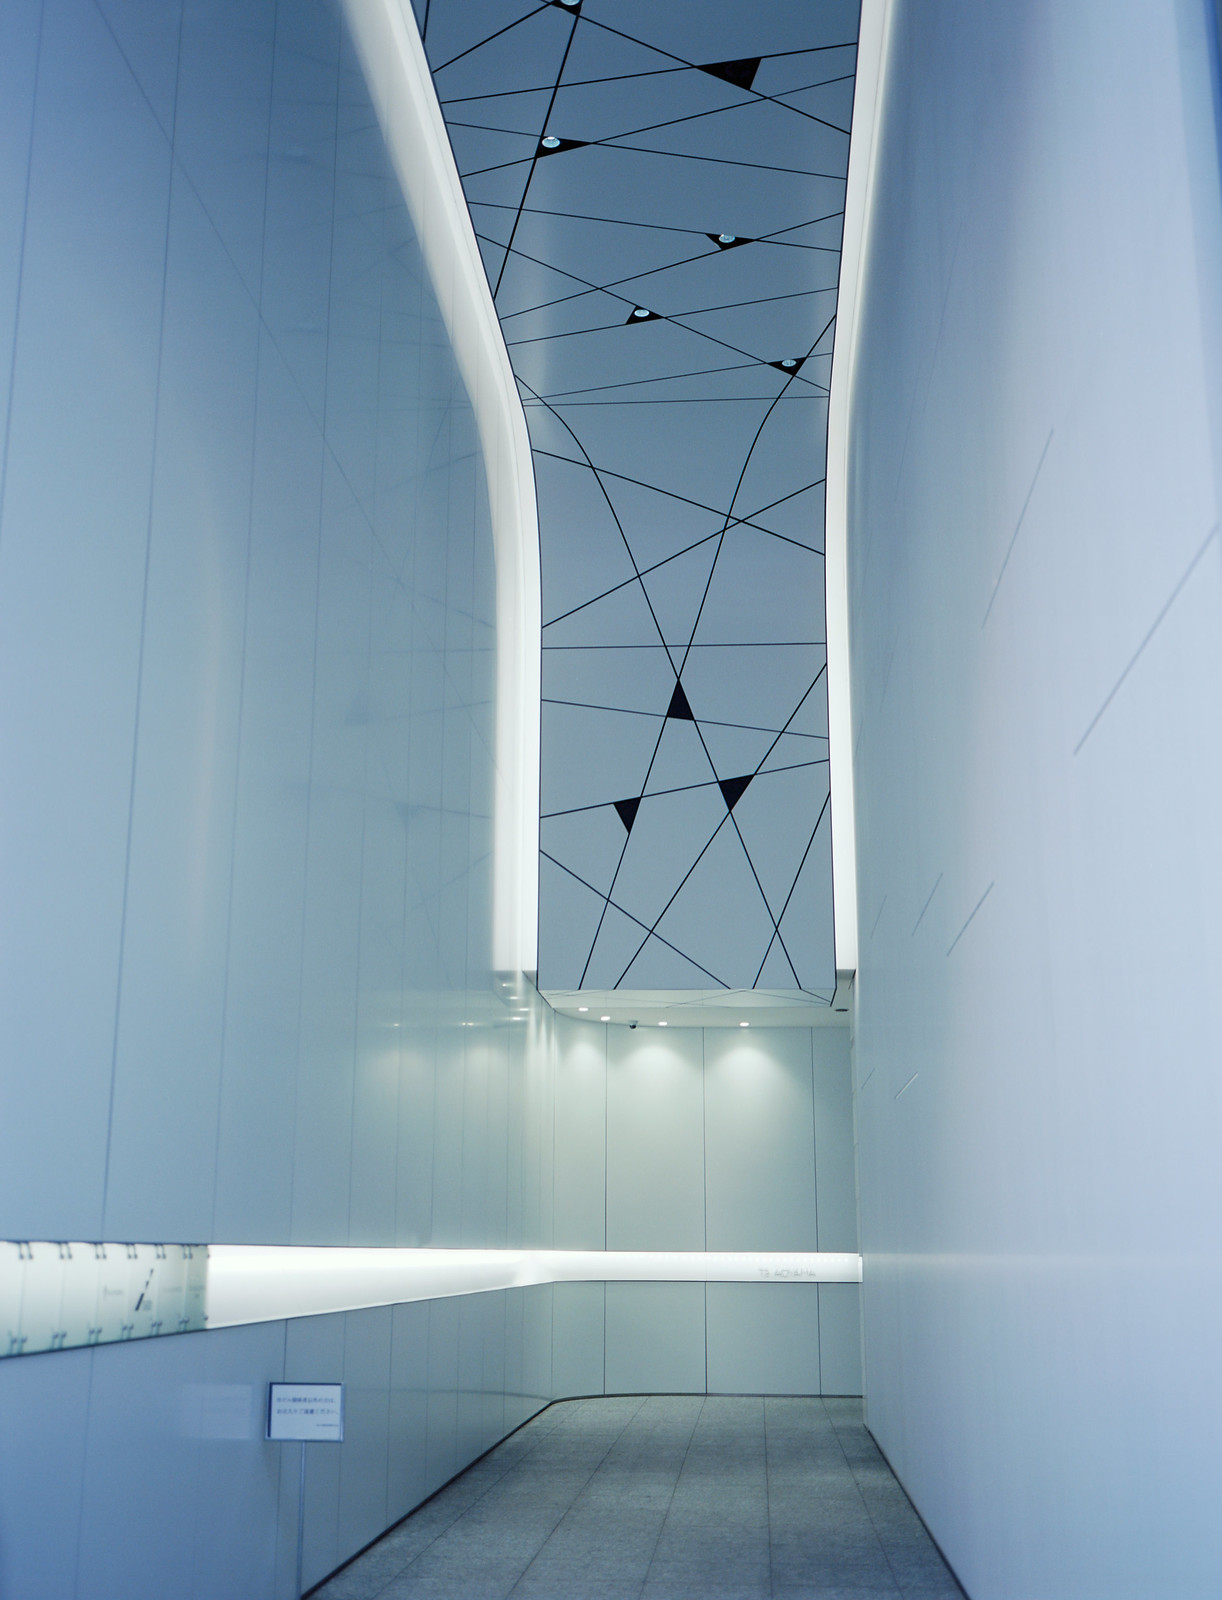
 Sigma dp2 Merrill 800 iso
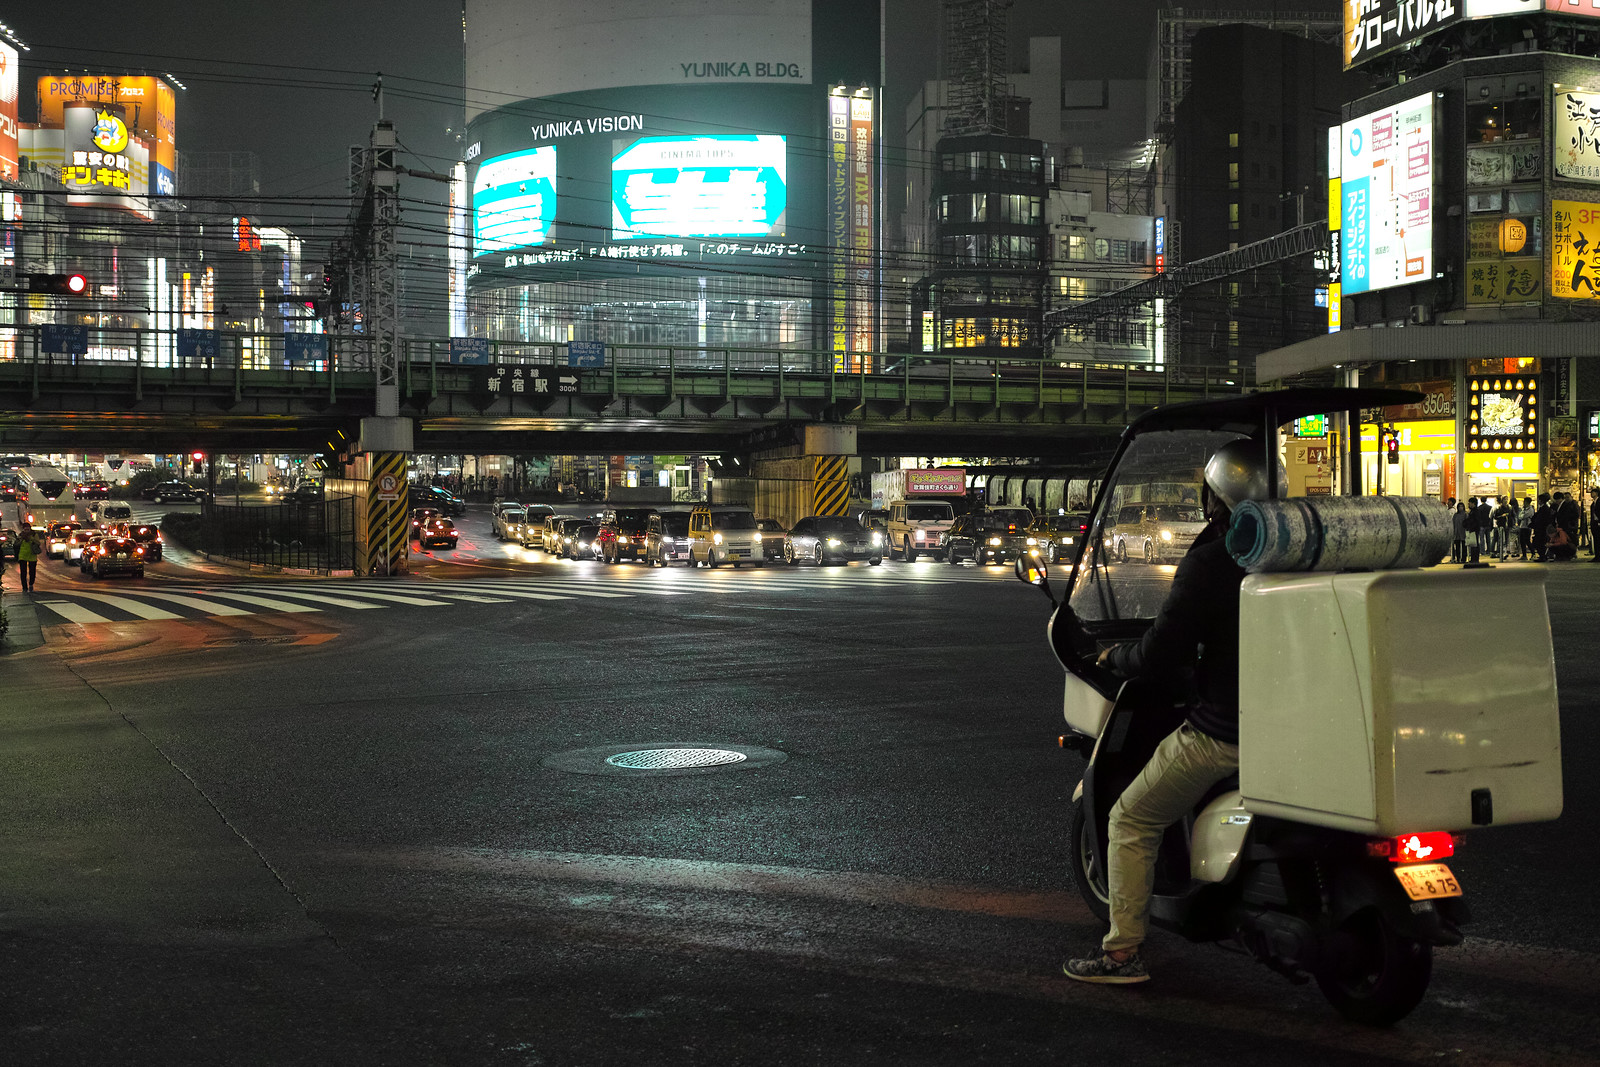 Sigma dp2 Merrill 640 iso
 Sigma dp2 Merrill 640 iso
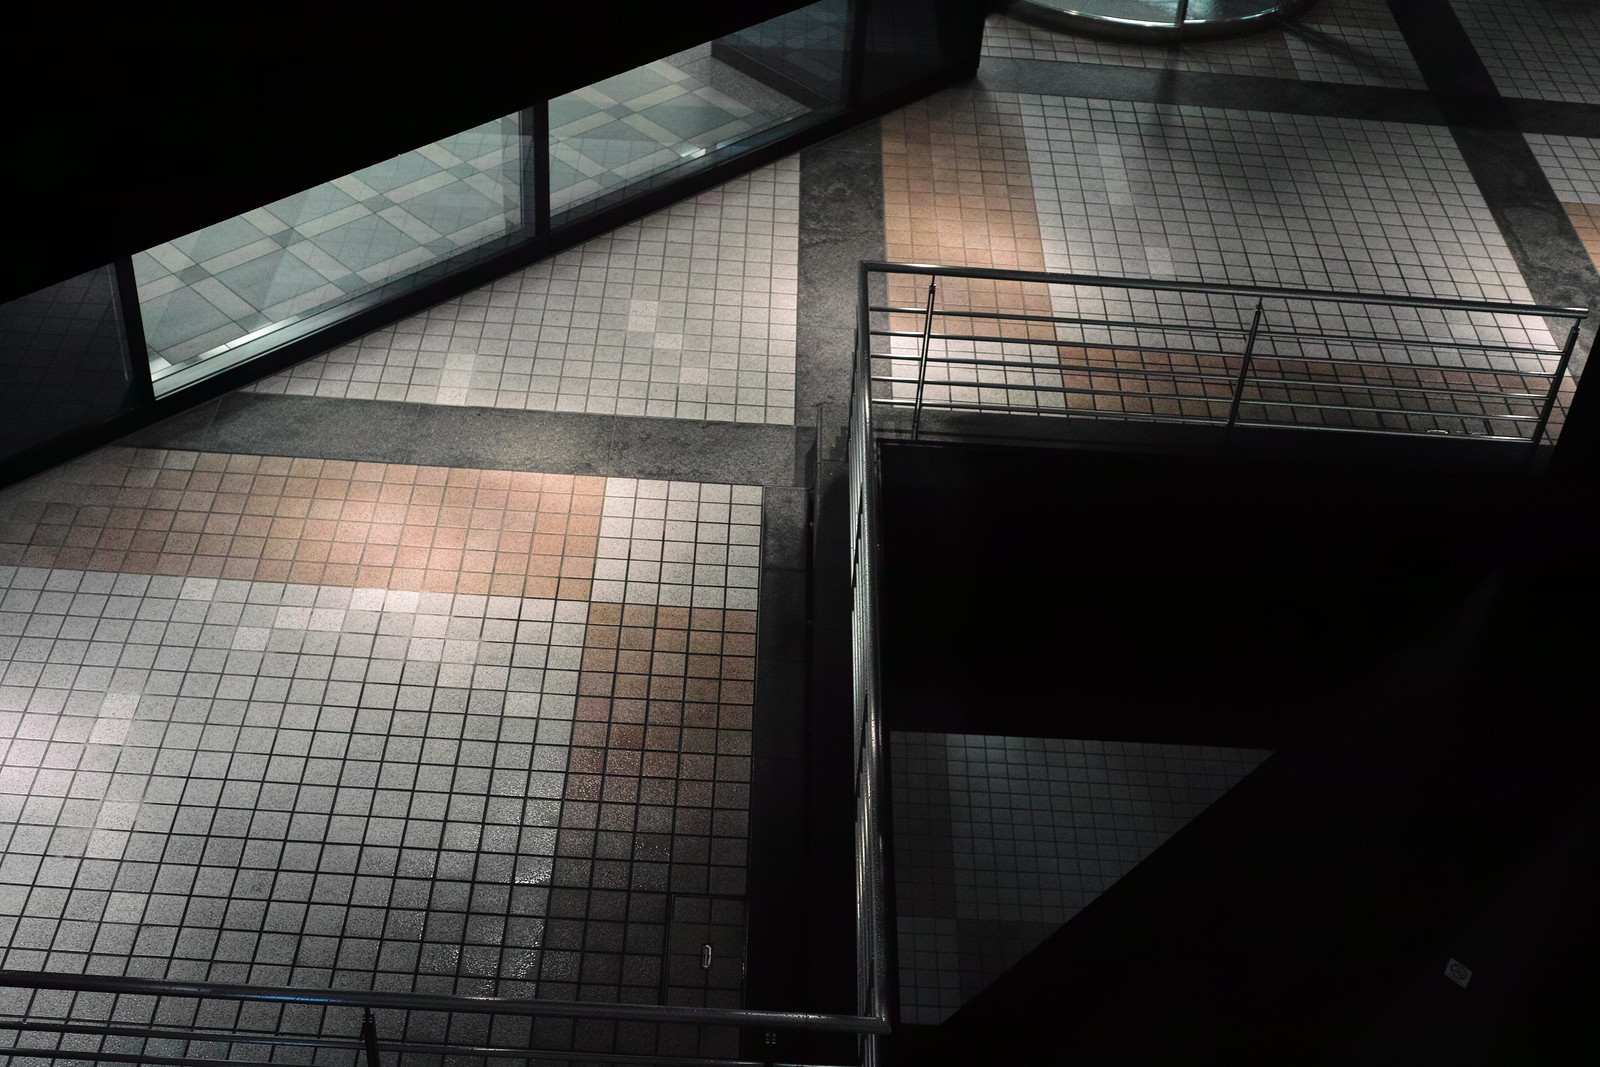 Sigma dp2 Merrill 800 iso
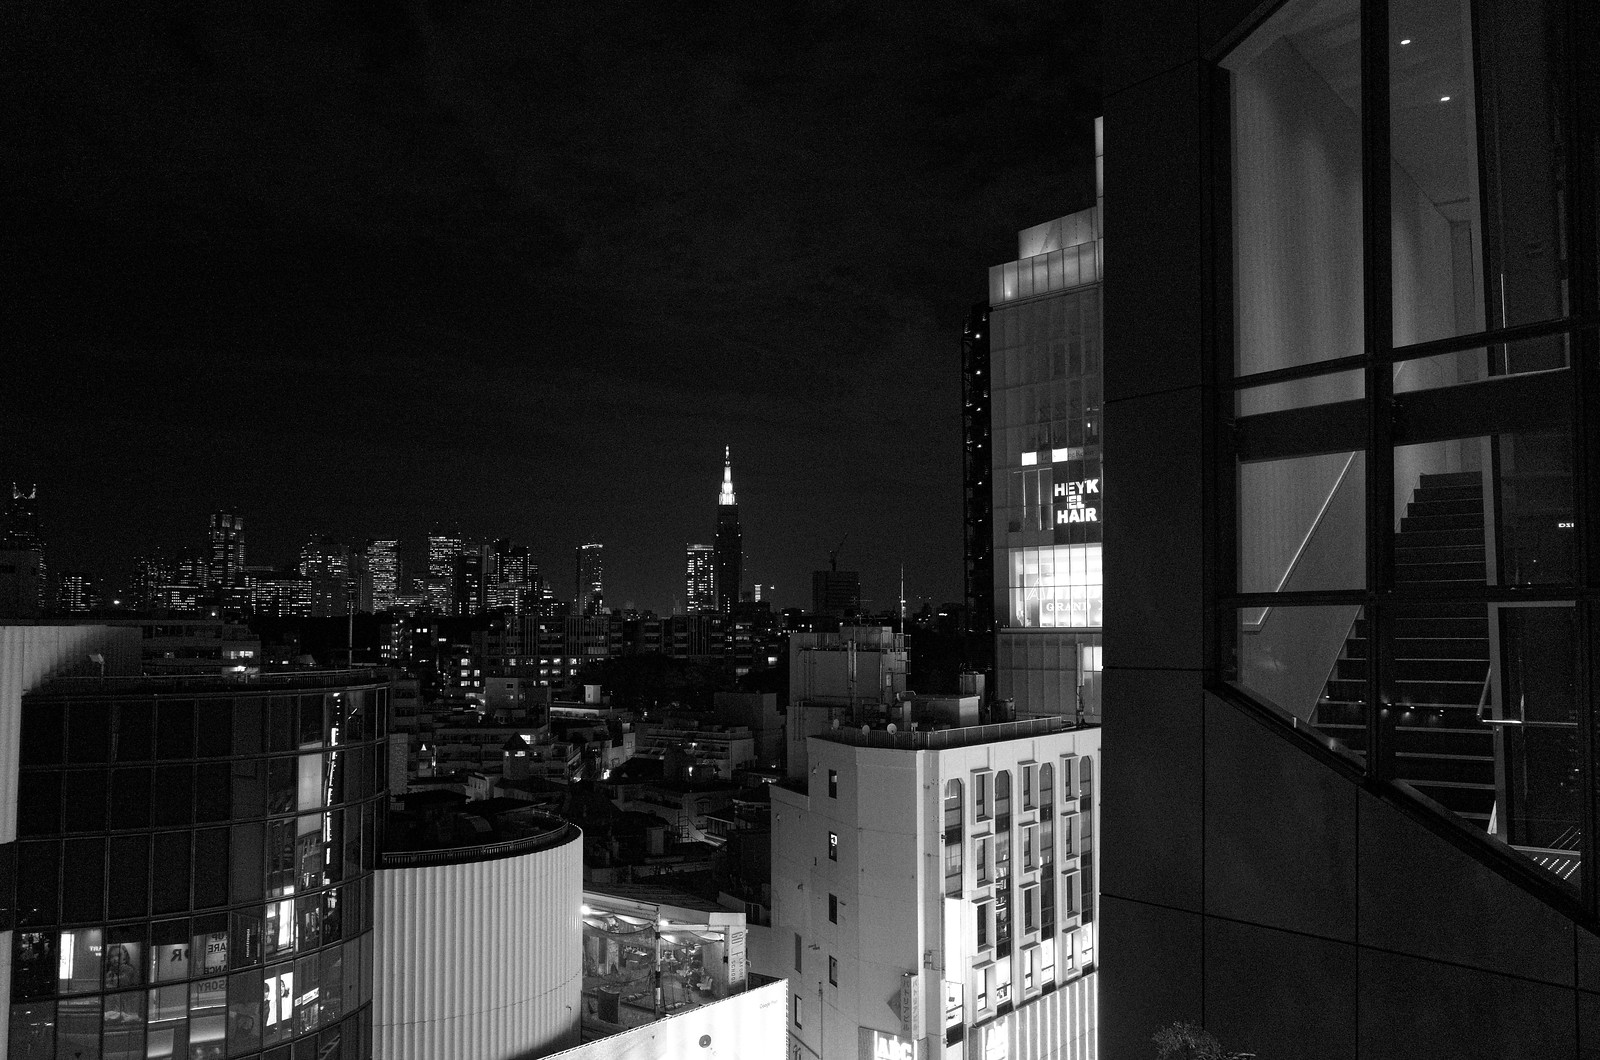 Ricoh GR II 3200 iso